
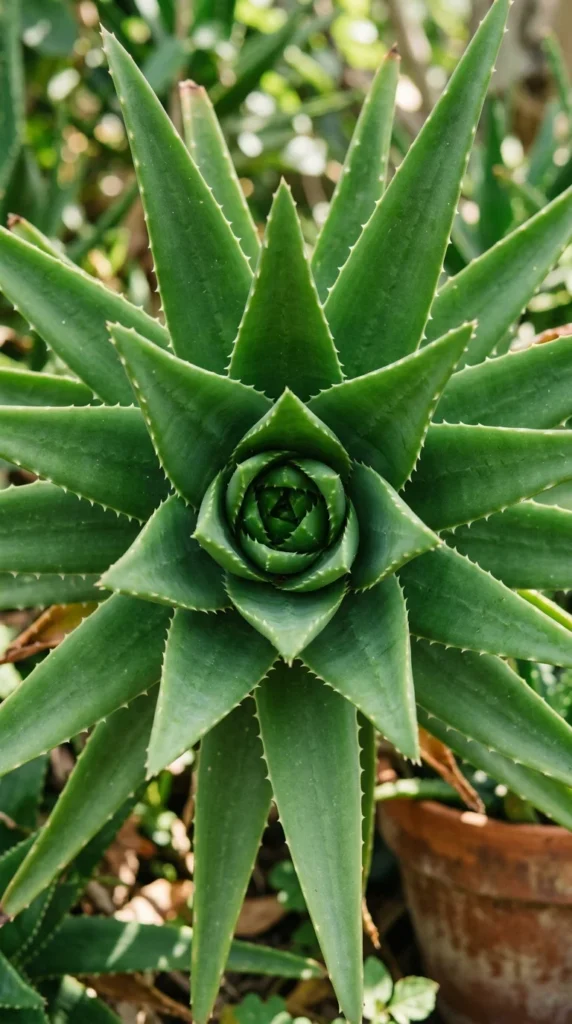
Aloe vera is the quintessential household succulent, cherished for its medicinal properties and its architectural beauty. While these plants are notoriously hardy, they often suffer from “kindness”—overwatering, improper lighting, or the wrong soil. To help your aloe thrive rather than just survive, here are 29 expert care hacks every plant lover should implement.
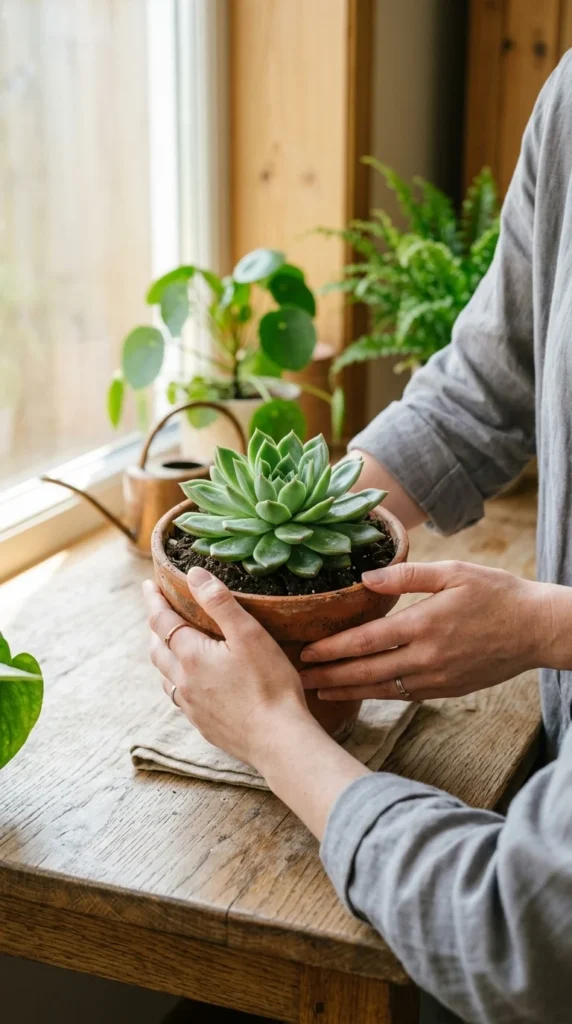
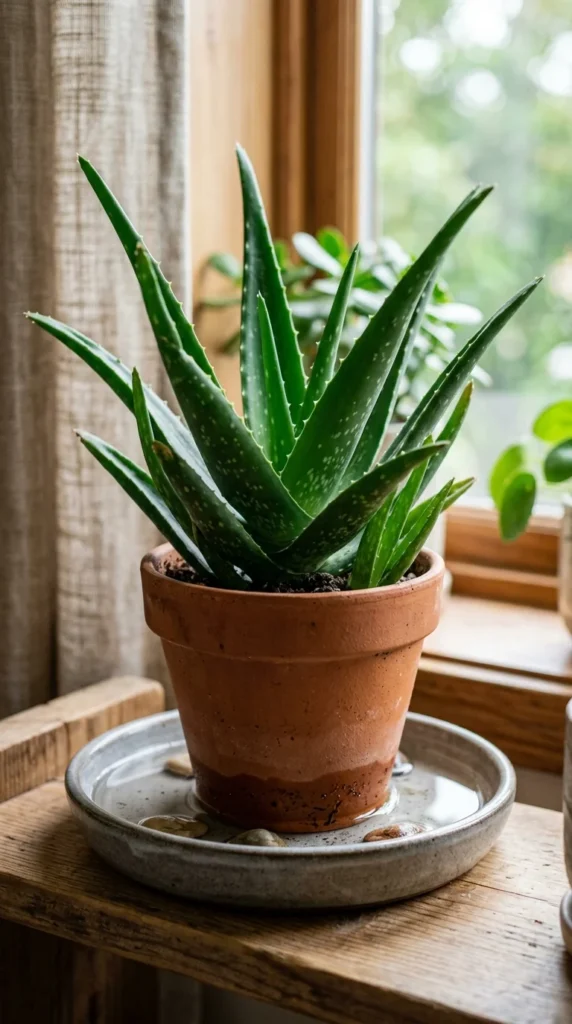
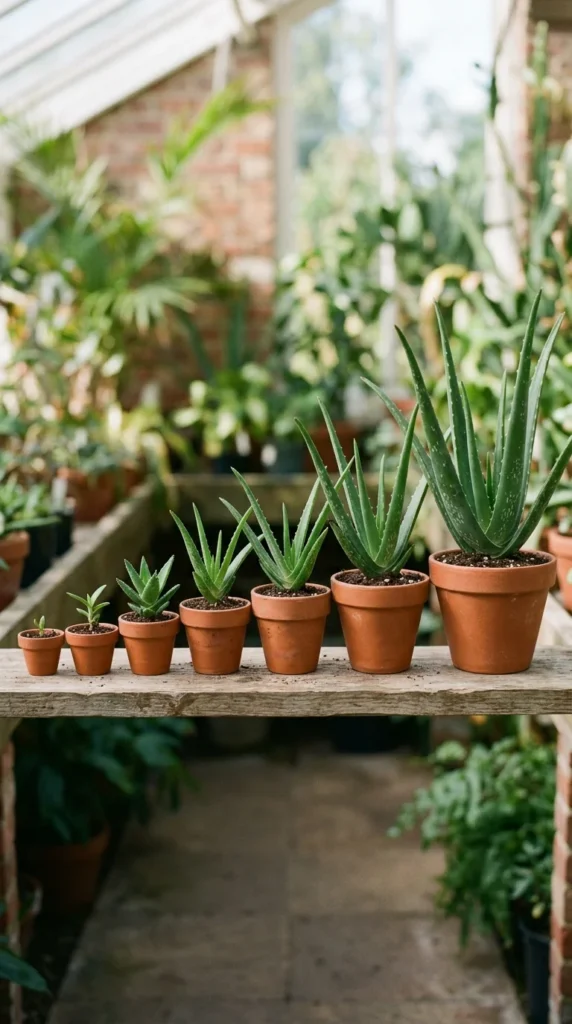
1. Terracotta Pots
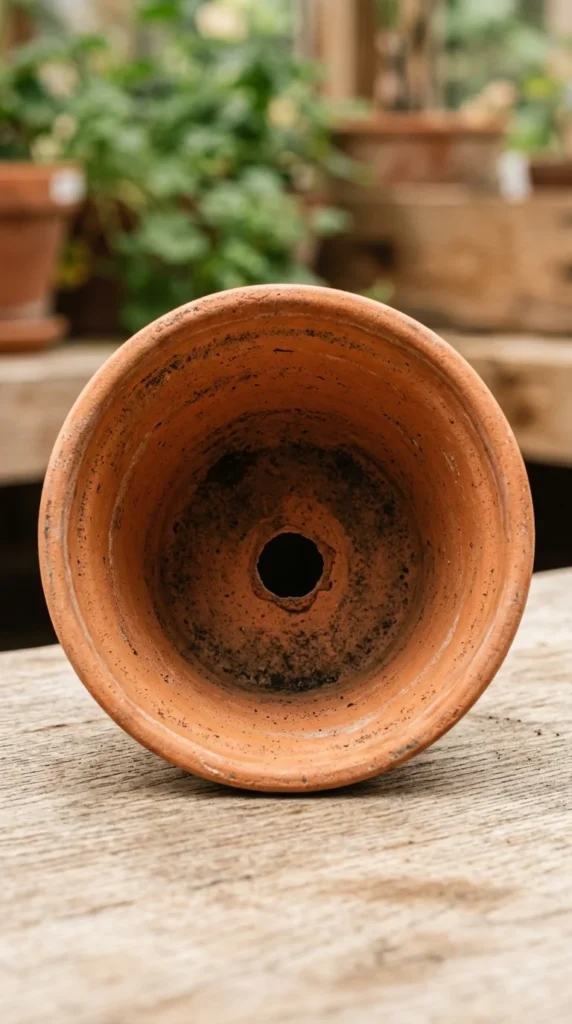
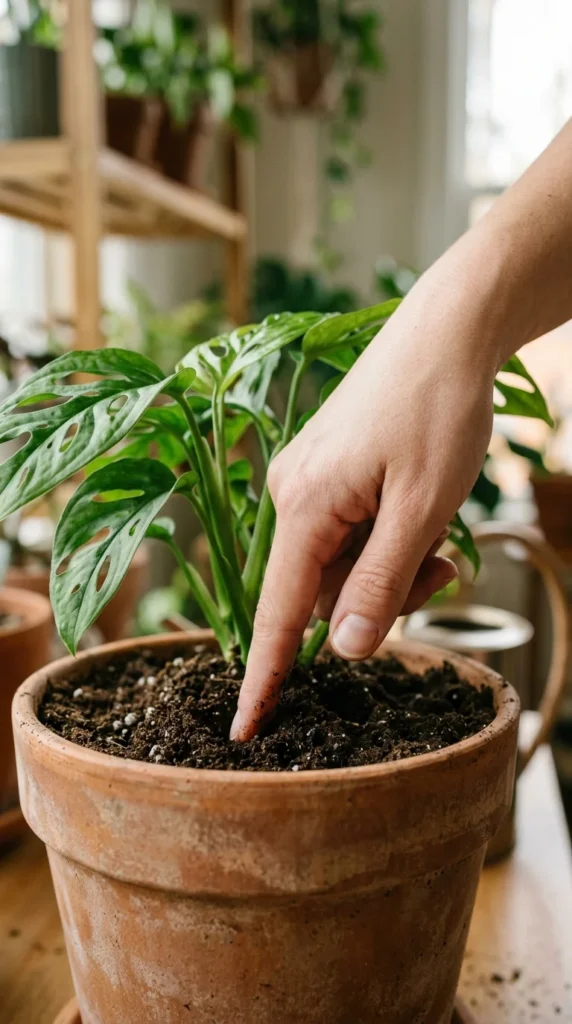
Using the right container is the first step to a healthy aloe. Terracotta is porous, allowing moisture to evaporate through the walls of the pot. This is a game-changer for succulents because it prevents the soil from staying damp for too long, which is the primary cause of root rot in Aloe vera.
2. Cactus Mix
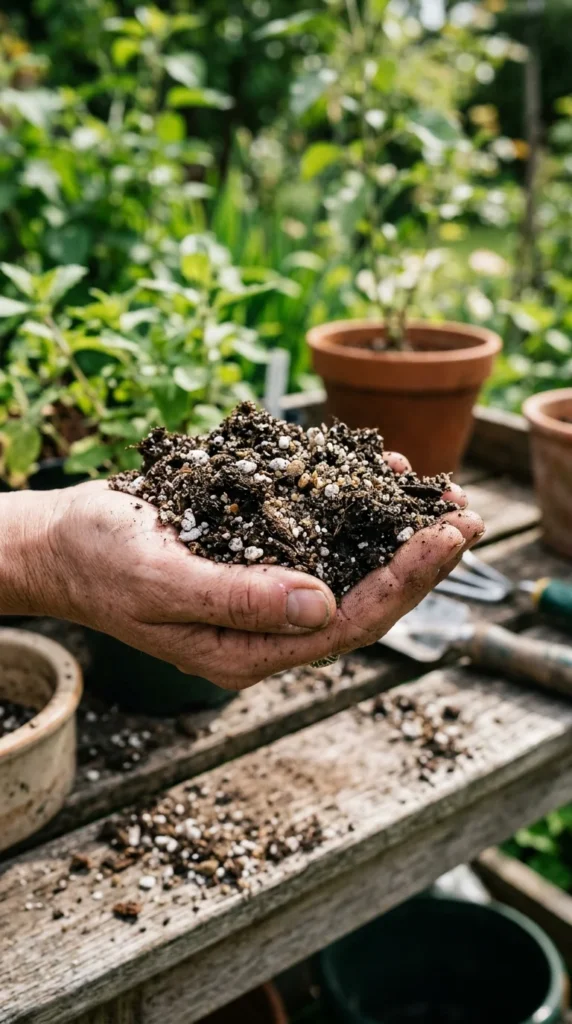
Standard potting soil holds too much water for an aloe. Use a dedicated cactus or succulent mix that contains high levels of perlite, pumice, or coarse sand. If you only have regular soil, hack it by mixing in 50% perlite to ensure the roots can breathe.
3. Indirect Sun
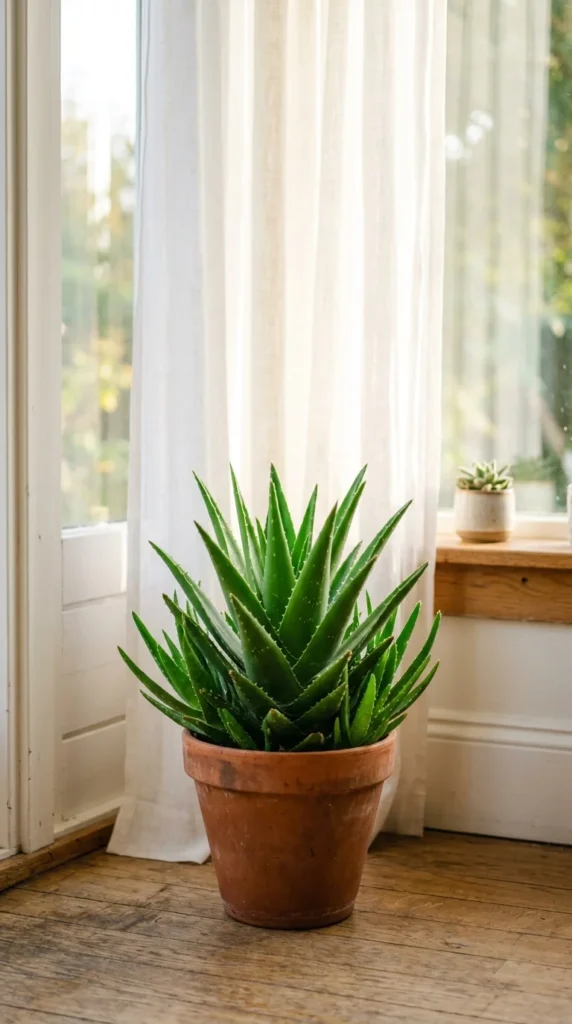
While aloes are desert plants, they prefer bright, indirect light over harsh, direct midday sun. Too much direct sunlight can actually scorch the leaves, turning them a sickly brown or orange. A south or west-facing window with a sheer curtain is the “goldilocks” zone.
4. Deep Watering
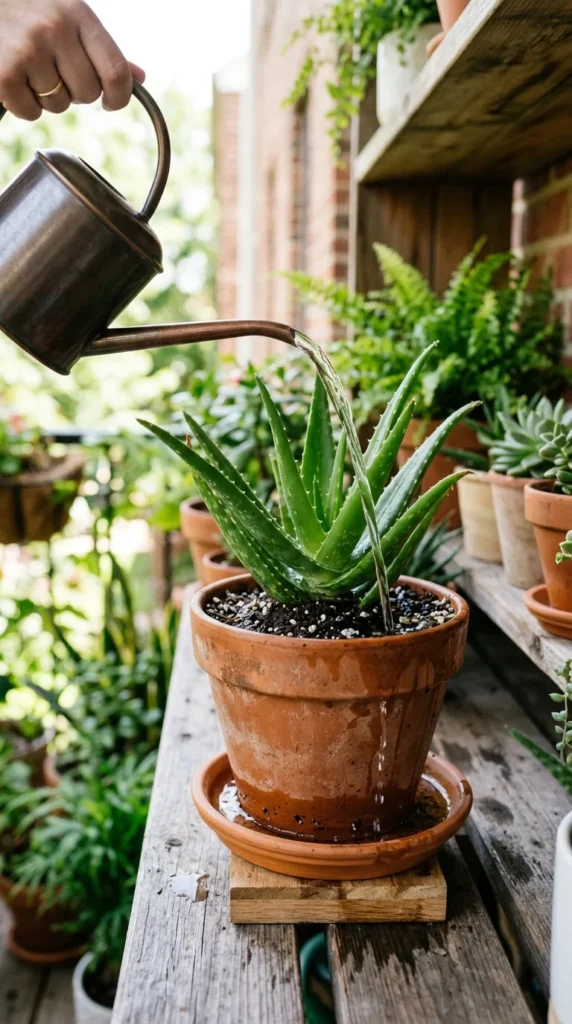
Instead of giving your aloe small sips of water daily, use the “soak and dry” method. Water the plant deeply until liquid runs out of the drainage holes. Then, do not water it again until the soil is completely dry at least three inches deep.
5. Finger Test
Don’t rely on a calendar to water your aloe. Use your finger to check the soil moisture. If the soil feels even slightly damp, wait. Aloe vera stores water in its leaves, so it can handle a drought much better than a flood.
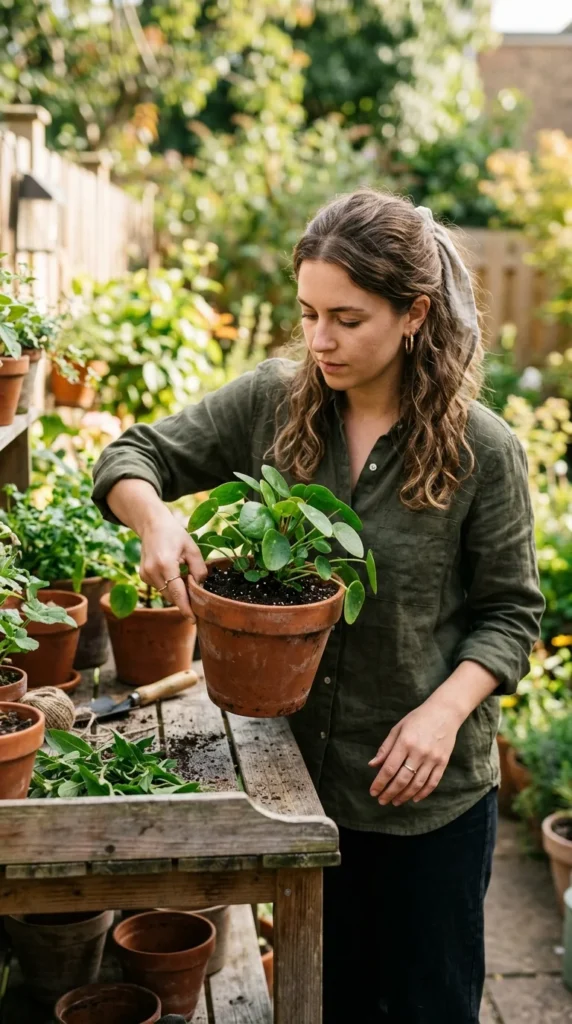
6. Pup Separation
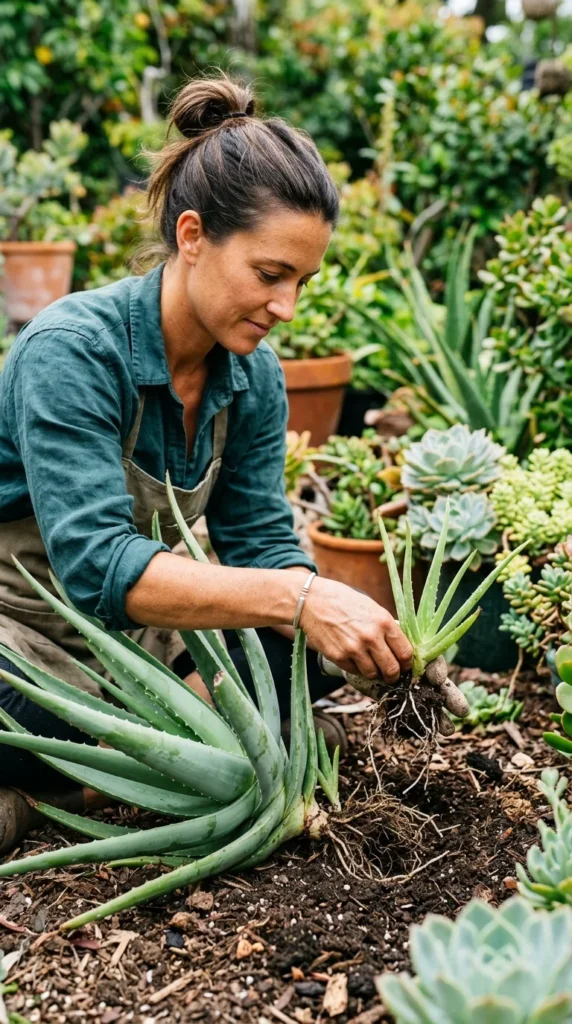
Mature aloe plants produce “pups” or offsets. To keep the mother plant healthy and prevent overcrowding, wait until the pups are about four inches tall and have their own roots, then gently tease them away and pot them separately.
7. Rotate Regularly
Like most plants, aloe will grow toward the light. If you don’t rotate the pot, it will become lopsided and may eventually tip over. Give the pot a quarter-turn every time you water to maintain a symmetrical, upright shape.
8. Dust Removal
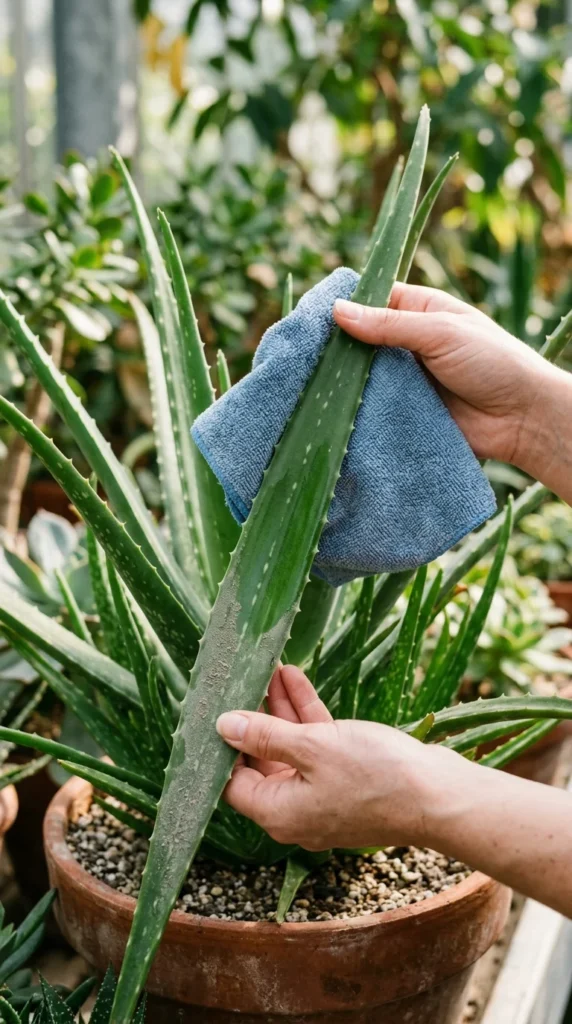
Dust buildup on the leaves can block sunlight and hinder photosynthesis. Once a month, take a damp cloth and gently wipe down each leaf. This keeps the plant healthy and looking vibrant.
9. Drainage Layer
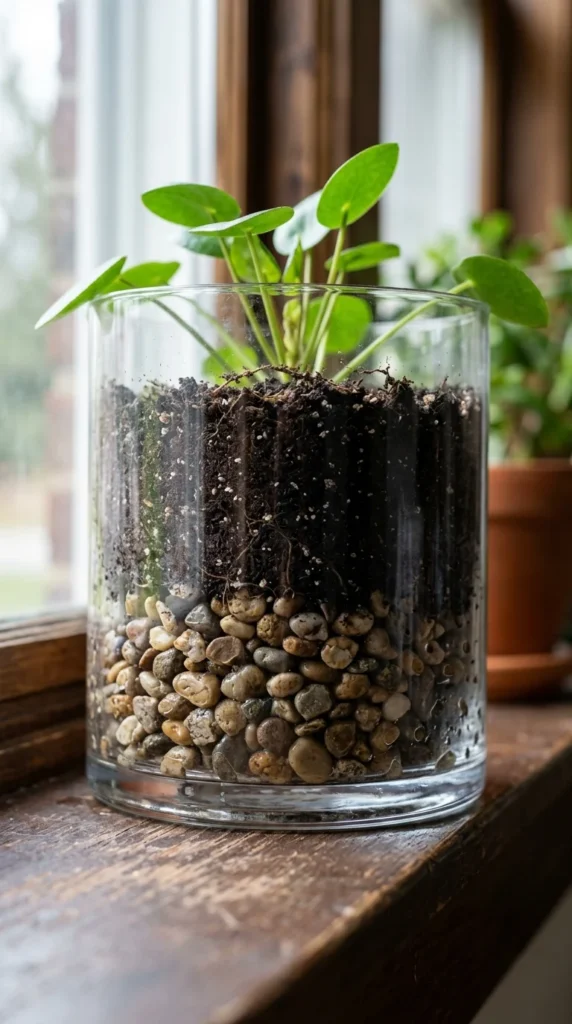
If your decorative pot doesn’t have a hole, you must create a “false bottom” using an inch or two of pebbles or leca. However, the best hack is to keep the aloe in a plastic nursery pot with holes and simply place that inside the decorative “cachepot.”
10. Winter Dormancy

Aloe vera plants grow very slowly in the winter. During these months, they require significantly less water—sometimes as little as once every six weeks. Overwatering during the winter is the most common way enthusiasts lose their plants.
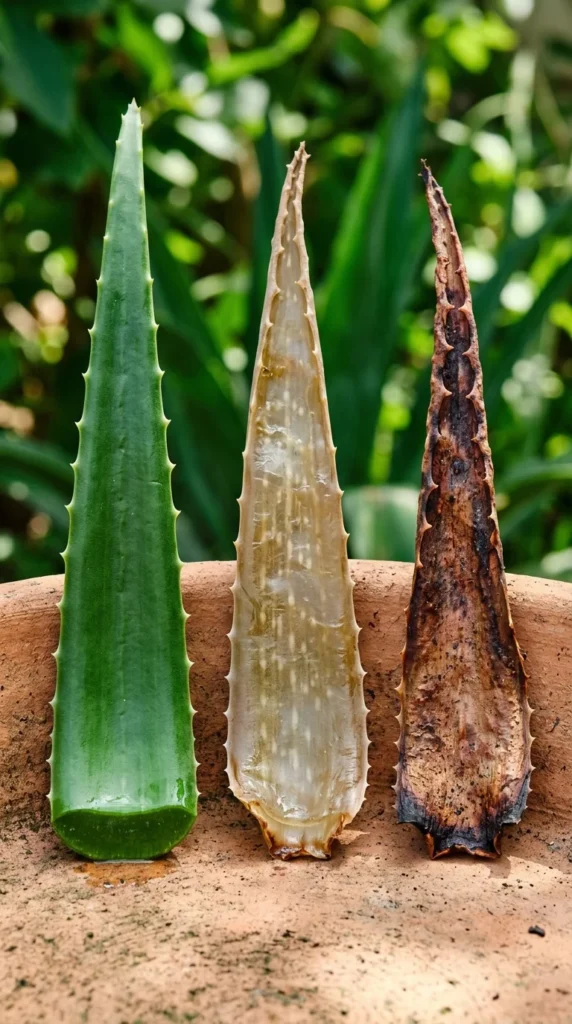
11. Callousing Cuttings
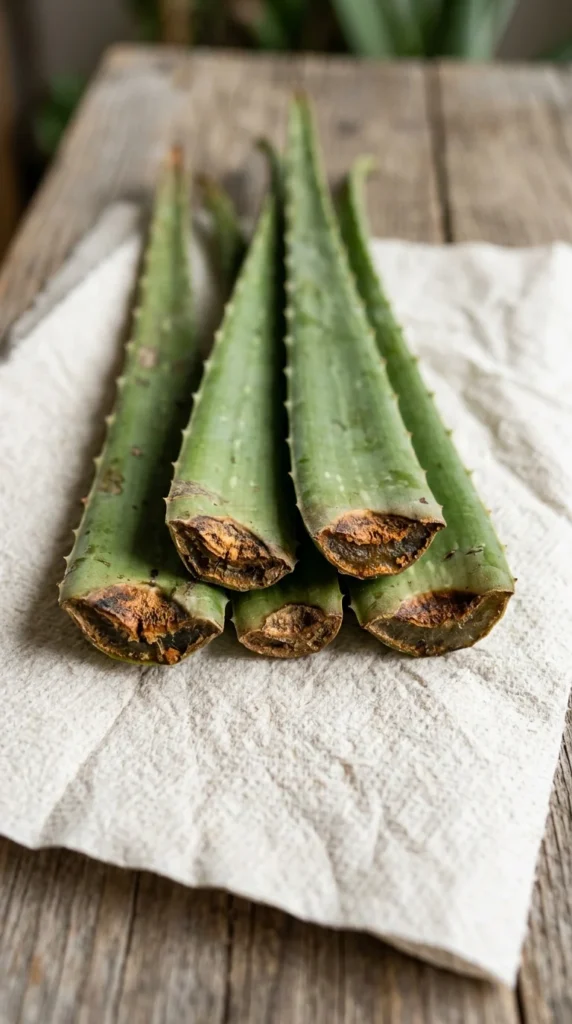
If you are trying to propagate a leaf or a pup that broke off, never put it directly into soil immediately. Let the cut end sit in the open air for two to three days to form a “callous.” This prevents bacteria from entering the plant and causing rot once it’s planted.
12. Bottom Watering
To ensure the roots at the bottom are getting hydrated without wetting the leaves (which can cause crown rot), place the pot in a tray of water for 20 minutes. The soil will wick up exactly what it needs.
13. Leaf Color
Monitor the color of the leaves as a communication tool. Yellowing leaves often indicate overwatering, while thin, curled leaves suggest the plant is thirsty. Reddish-brown leaves usually mean the plant is getting too much direct sun.
14. Support Stakes
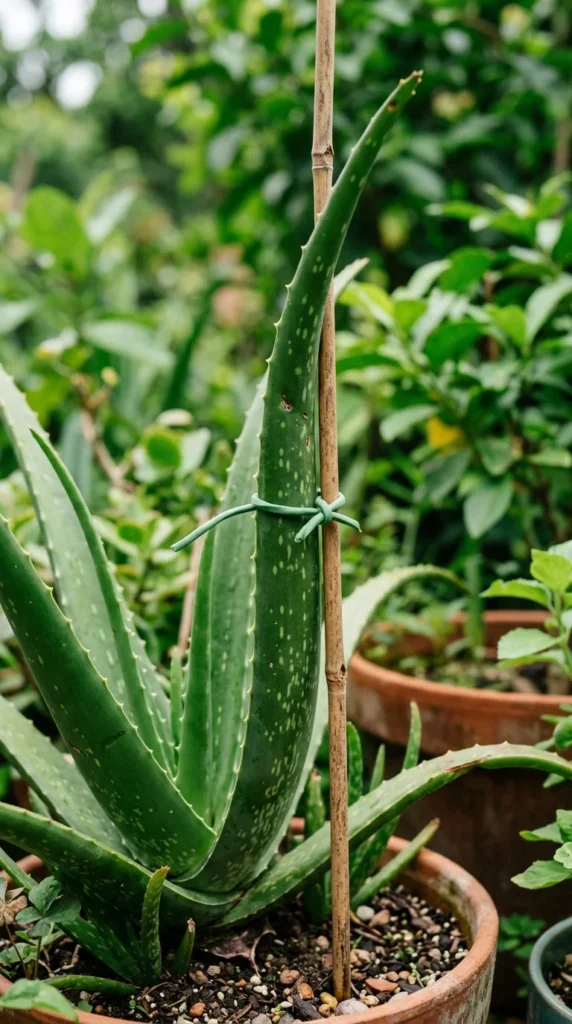
Large Aloe vera plants can become “top-heavy,” causing the leaves to fold or snap. Use small bamboo stakes or chopsticks to provide support to the heavier outer leaves until the base of the plant strengthens.
15. Alcohol Rub
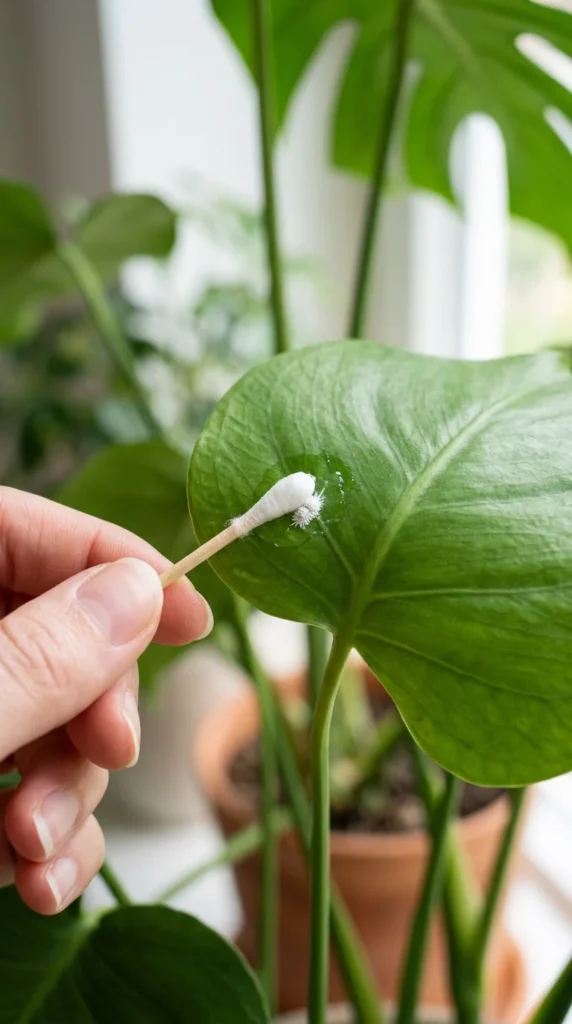
If you spot tiny white cottony spots (mealybugs), don’t panic. Dip a cotton swab in rubbing alcohol and dab it directly onto the pests. This kills them instantly without the need for harsh systemic pesticides.
16. Proper Pruning
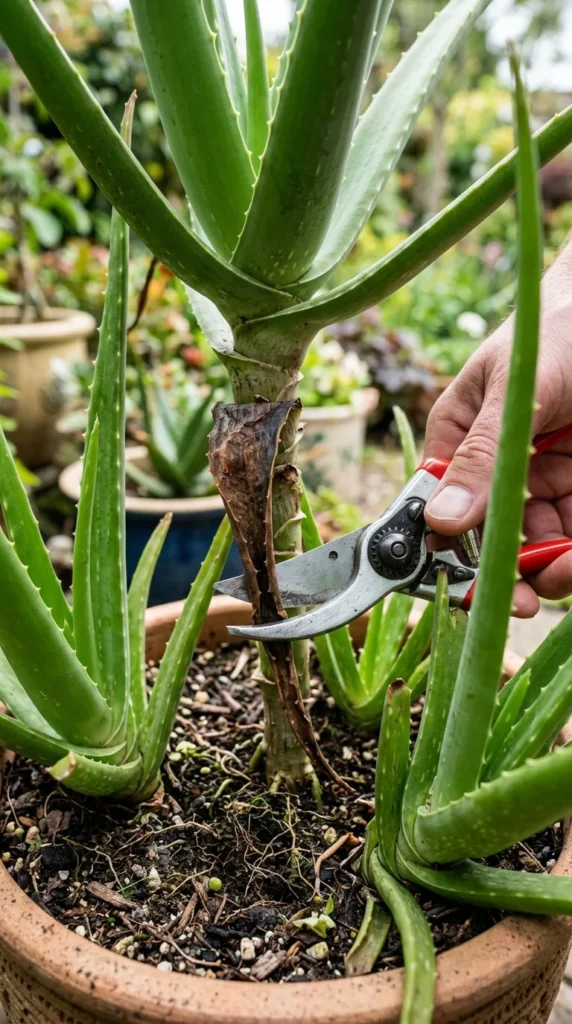
Always prune away dead, dried, or diseased leaves from the bottom of the plant. Use a sharp, sterilized knife or shears and cut as close to the main stem as possible. This directs the plant’s energy toward new, healthy growth.
17. Root Bound
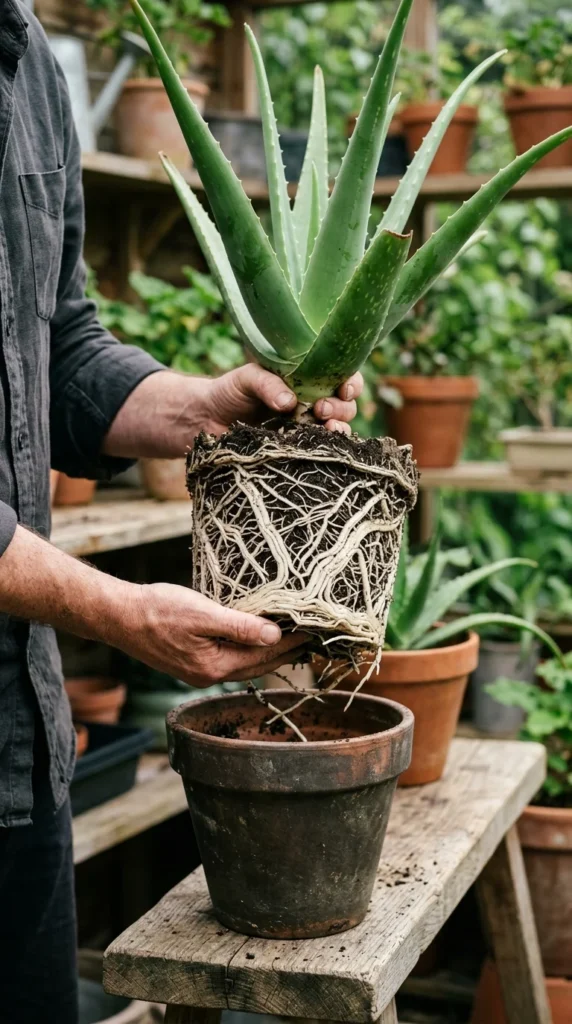
Aloes actually enjoy being slightly root-bound. You don’t need to rush to repot them every year. In fact, keeping them in a snug pot can encourage the production of pups. Only repot when the roots start pushing the plant out of the container.
18. Rainwater Collection
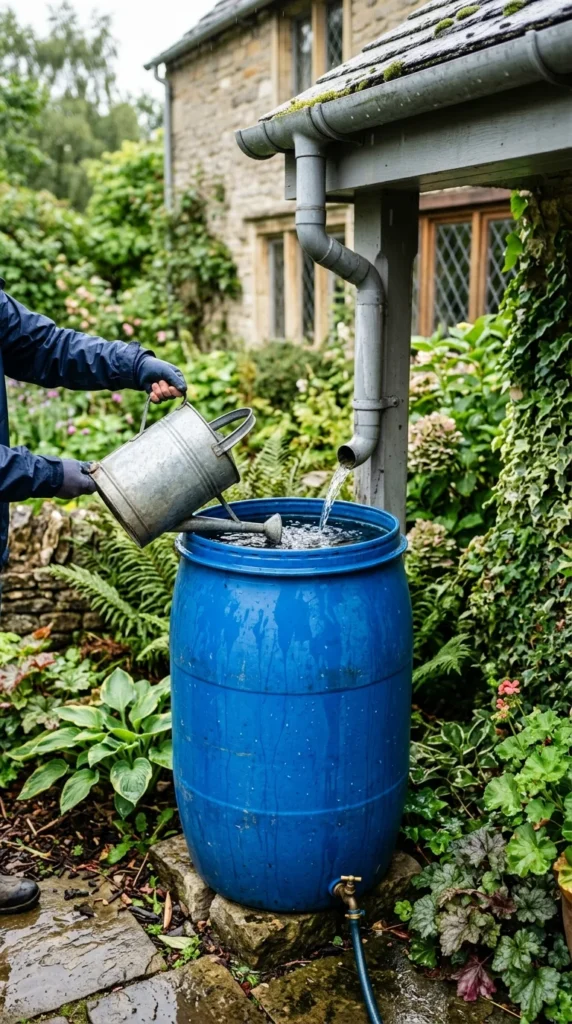
Tap water often contains chlorine and fluorides that can build up in the soil and tip the leaf ends brown. If possible, water your aloe with collected rainwater or distilled water to keep the leaf tips pristine.
19. Kitchen Placement
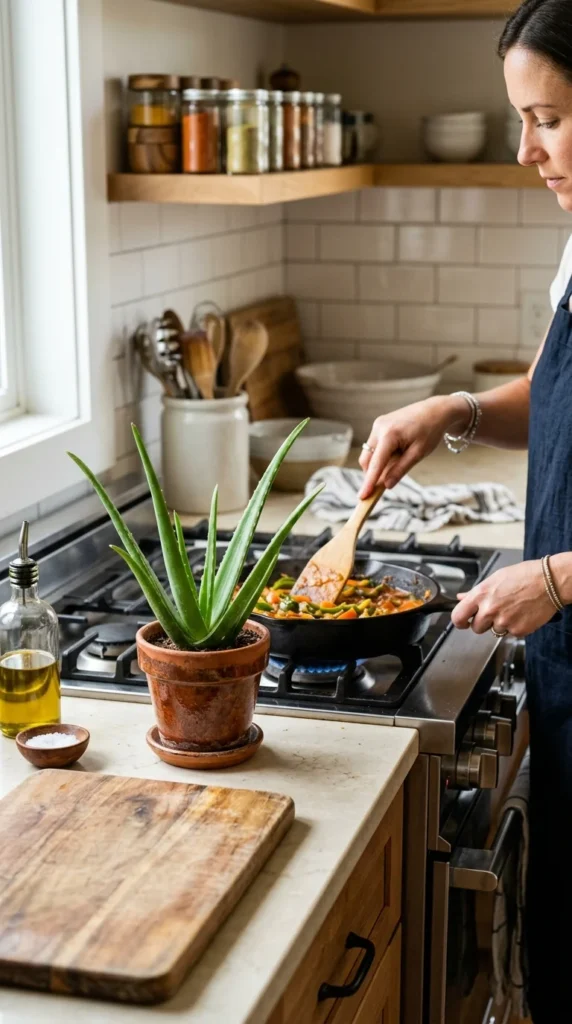
The kitchen is the best place for an aloe, not just for the light, but for utility. Having it nearby allows you to quickly snap off a piece for minor kitchen burns. The steam from cooking also provides a tiny, localized humidity boost.
20. Crown Protection
When watering, never pour water into the center “crown” where the leaves emerge. Water trapped in the crown can lead to fungal infections and “crown rot,” which kills the plant from the inside out. Always water the soil around the perimeter.
21. Air Circulation

Good airflow is essential to prevent fungal issues. If your plants are crowded together in a corner, they may develop mold on the soil surface. Use a small fan or open a window nearby to keep the air moving.
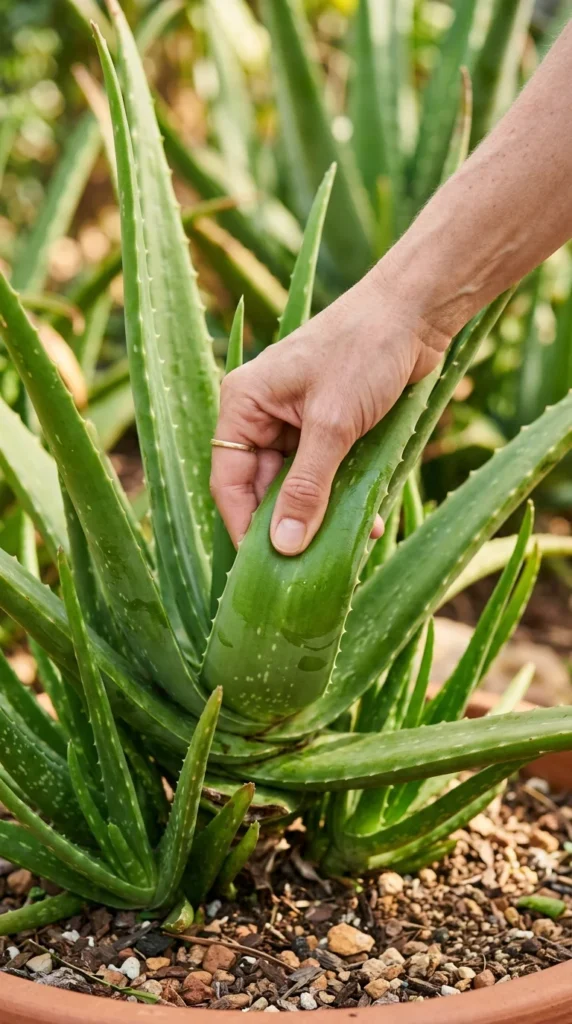
22. Gel Harvesting

When harvesting gel, always take the outermost, oldest leaves. These contain the highest concentration of active compounds. Use a sharp knife and slice the leaf close to the trunk to ensure the plant heals quickly.
23. Freezing Gel
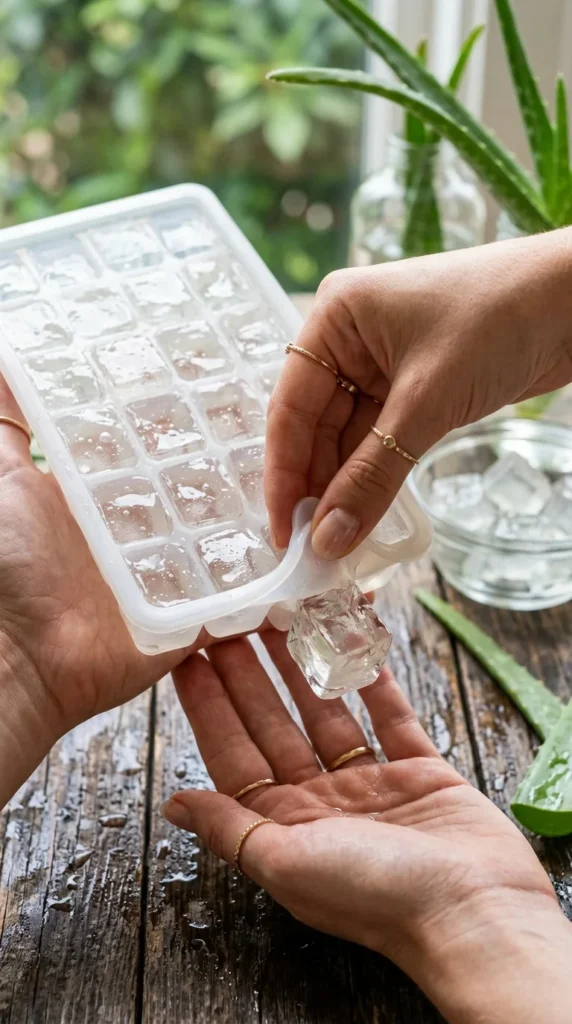
If you harvest more gel than you can use, freeze it in ice cube trays. These “aloe cubes” are perfect for soothing sunburns or skin irritations instantly and can be stored for months.
24. No Fertilizer

Aloes are not heavy feeders. Fertilizing too much can cause a buildup of salts in the soil which damages the roots. If you must fertilize, do it only once a year in the spring using a diluted, phosphorus-heavy formula.
25. Acclimatization
If you want to move your indoor aloe outside for the summer, do it gradually. Start with one hour of shade, then two, slowly moving it into brighter spots over two weeks. Sudden moves will cause the plant to go into shock and turn brown.
26. Pebble Mulch
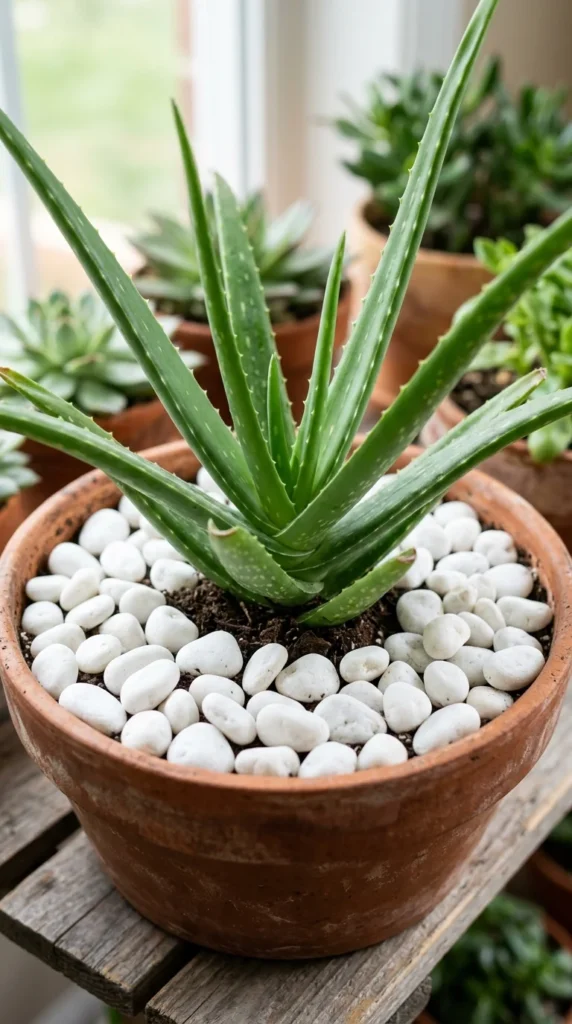
Adding a layer of pebbles on top of the soil looks great, but it also serves a purpose. It keeps the lower leaves of the aloe from touching damp soil, which prevents leaf rot and keeps the plant cleaner.
27. Pot Weight
One of the best hacks to tell if an aloe needs water is the “weight test.” Pick up the pot right after a deep watering to feel its weight. Check it again in two weeks. When the pot feels significantly lighter, you know the water has evaporated and it’s time for another round.
28. Avoiding Softening
Healthy aloe leaves should feel firm to the touch, almost like a ripe cucumber. If the leaves feel squishy or “mushy,” it is a definitive sign of overwatering and impending root rot. Stop watering immediately and check the roots.
29. Patience
The final hack is patience. Aloe vera is a slow-growing succulent. Don’t expect it to double in size in a month. By providing consistent, hands-off care and avoiding the urge to over-care for it, you will eventually be rewarded with a massive, pup-producing centerpiece.