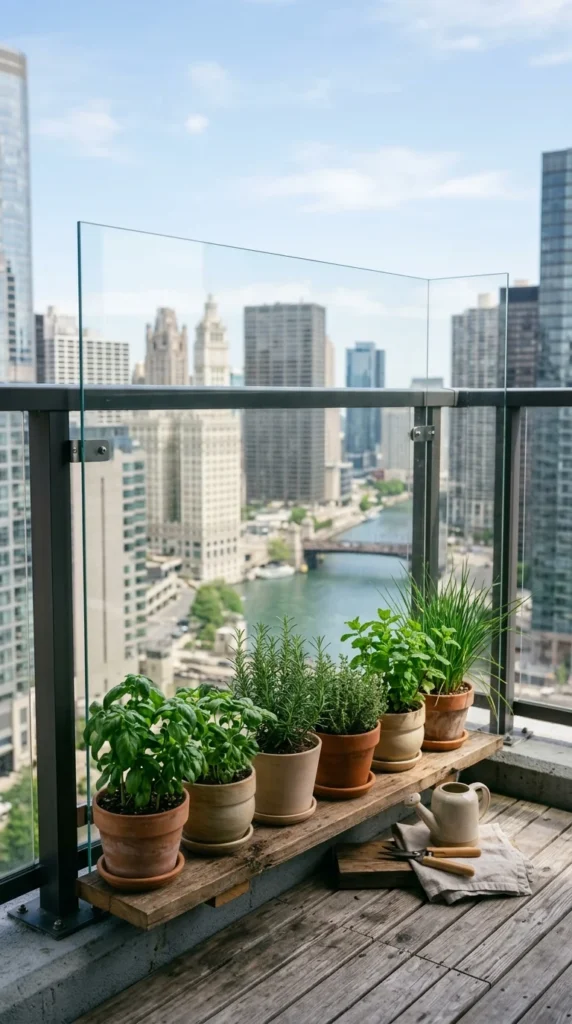
Container gardening is the ultimate solution for urban dwellers, renters, or anyone with limited ground space. It transforms balconies, patios, and even windowsills into thriving ecosystems. However, keeping a container garden lush and vibrant requires more than just plopping a plant into a pot. Because pots are closed environments, the plants within them depend entirely on you for their survival.
To achieve professional-level results, you must master the nuances of soil biology, hydration, and design. Here are 17 closely guarded secrets to help you cultivate a breathtaking container garden regardless of your square footage.
1. Drainage Holes
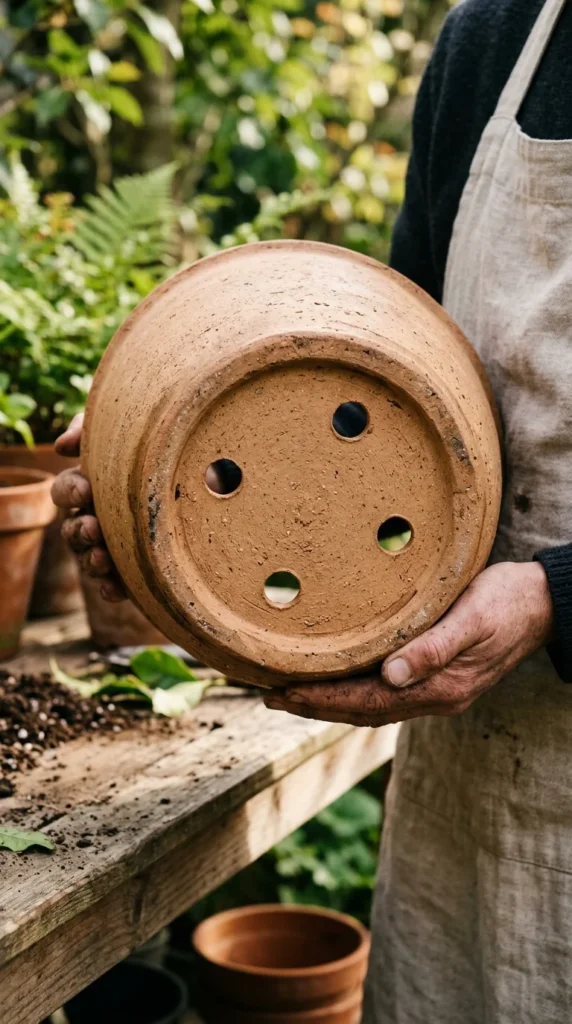
The most common reason for container plant failure isn’t underwatering—it’s root rot caused by poor drainage. Without a way for excess water to escape, the bottom of the pot becomes a stagnant swamp that suffocates roots. If you find a beautiful pot without a hole, use a diamond-tipped drill bit to create one. Avoid the old myth of putting “pot shards” or gravel at the bottom; this actually raises the “perched water table,” making it harder for water to drain. A clear, unobstructed hole is the only way to ensure oxygen reaches the roots.
2. Potting Mix
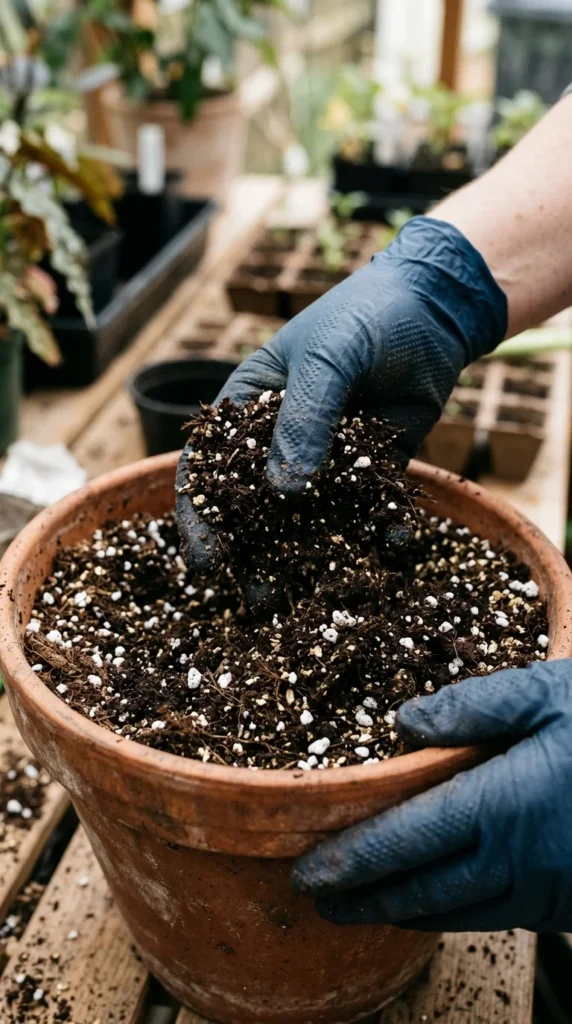
Never use garden soil in a container. Standard backyard dirt is too heavy; it compacts quickly in a pot, crushing roots and preventing water flow. Professional gardeners use “soilless” potting mixes, which are typically composed of peat moss or coconut coir, perlite, and vermiculite. These ingredients provide the perfect balance of moisture retention and aeration. For an extra boost, look for mixes infused with mycorrhizae—beneficial fungi that help roots absorb nutrients more efficiently.
3. Container Material

The material of your pot dictates how often you need to water. Terracotta is porous, meaning it “breathes” and allows moisture to evaporate from the sides, which is great for succulents but tough for thirsty ferns. Plastic and glazed ceramic hold moisture much longer. If you live in a hot, windy climate, avoid dark-colored metal or plastic pots, as they can cook the roots in the midday sun. Choose resin or wood for better temperature insulation.
4. Thriller Formula
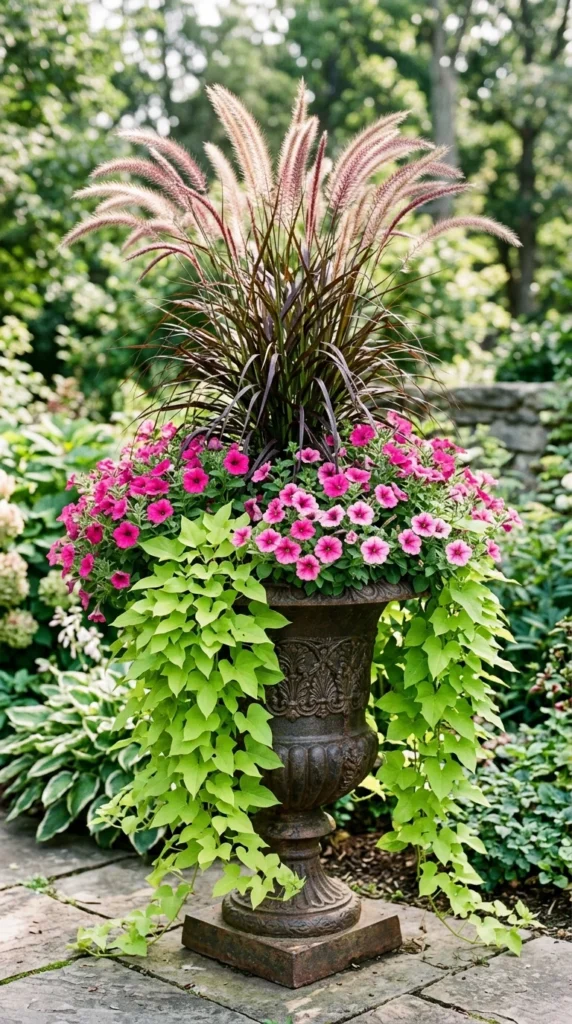
To create a professional-looking arrangement, follow the “Thriller, Filler, Spiller” rule. The Thriller is a tall, eye-catching plant placed in the center or back (like a Canna lily or ornamental grass). The Filler consists of mounding plants that cover the soil and add bulk (like Lantana or Coleus). The Spiller includes trailing plants that tumble over the edge of the pot (like Creeping Jenny or Lobelia). This three-tier approach creates depth and visual interest from every angle.
5. Size Matters
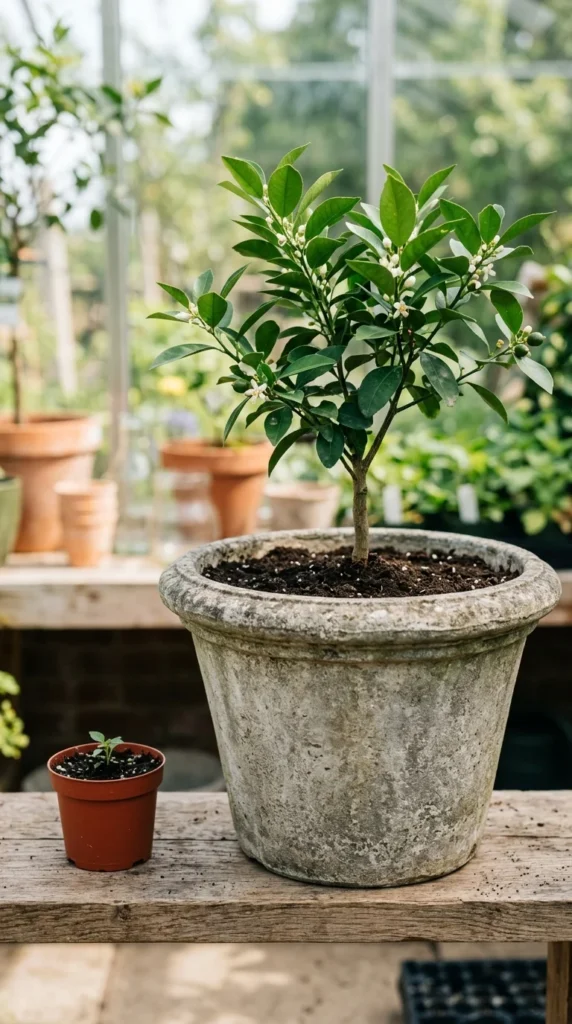
When it comes to containers, bigger is almost always better. Small pots dry out incredibly fast, sometimes requiring water twice a day in the summer. Larger pots hold more soil, which acts as a buffer for both moisture and temperature. A larger volume of soil provides a more stable environment for root development, leading to larger, healthier plants. If you are a beginner, start with pots that are at least 12 inches in diameter.
6. Morning Watering
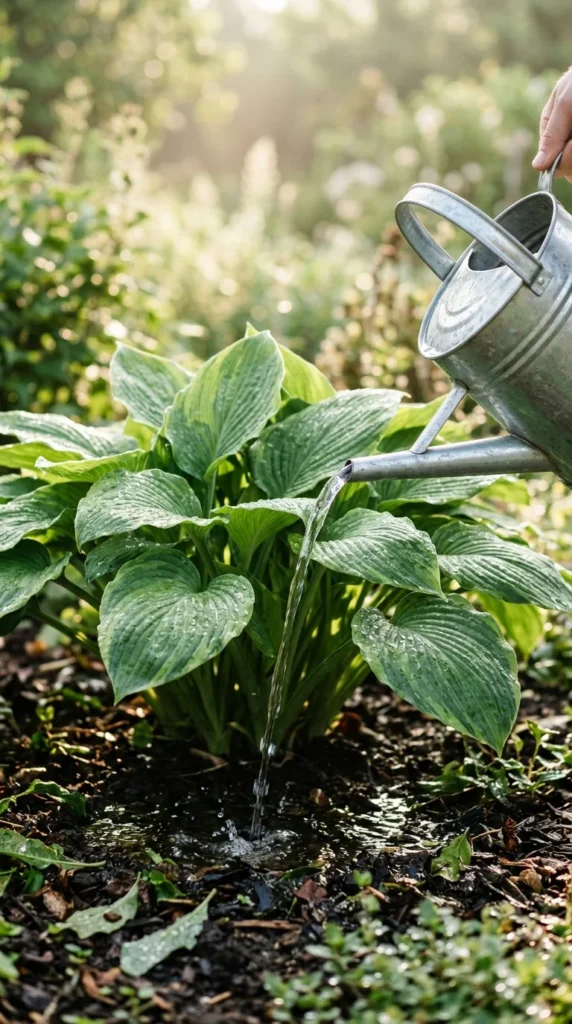
Timing is everything. Watering in the heat of the afternoon is inefficient because much of the water evaporates before the plant can use it. Watering at night can lead to fungal diseases because the leaves stay wet for too long. The “golden hour” for watering is early morning. This allows the plant to hydrate before the sun hits its peak and gives any splashes on the foliage time to dry out during the day.
7. Fertilizing Regimen
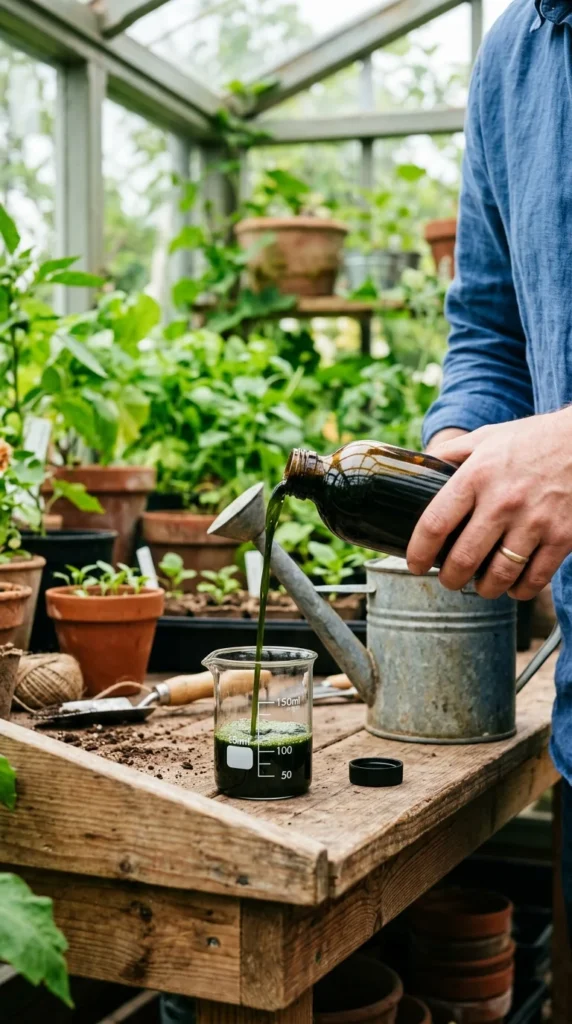
Because pots are frequently watered, nutrients are leached out of the soil much faster than in the ground. To keep your garden blooming, you must replenish these nutrients. The best strategy is a two-pronged approach: mix a slow-release granular fertilizer into the soil at planting time, and then supplement with a half-strength liquid fertilizer every two weeks during the growing season. This ensures a steady supply of “food” for your plants.
8. Sunlight Mapping
Before buying plants, track the light on your balcony or patio. “Full sun” means at least six hours of direct sunlight. If your space only gets morning sun, you have “partial shade,” which is perfect for begonias and fuchsias. If you have a north-facing balcony with no direct sun, stick to “full shade” plants like ferns and caladiums. Placing a sun-loving plant in the shade will result in “leggy,” weak growth, while shade plants in the sun will scorch and die.
9. Pot Feet
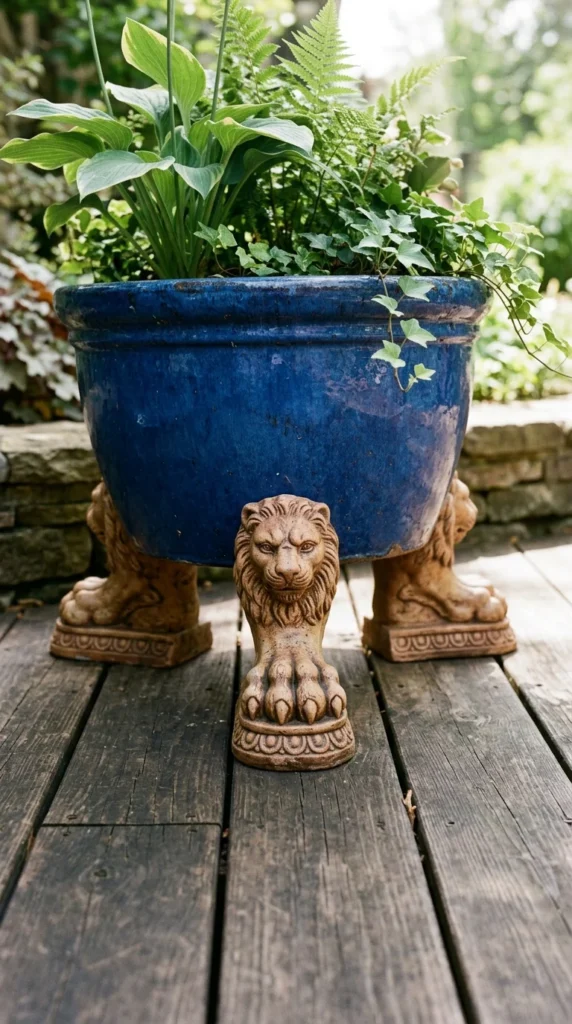
Never set your pots directly on a flat surface like wood or concrete. Raising them slightly using “pot feet” or even simple bricks serves two purposes. First, it prevents “puddling” underneath the pot, which can rot wooden decks or leave permanent stains on stone. Second, it allows air to circulate underneath the drainage hole, preventing the soil from becoming waterlogged and discouraging pests like slugs from hiding underneath.
10. Mulching Pots
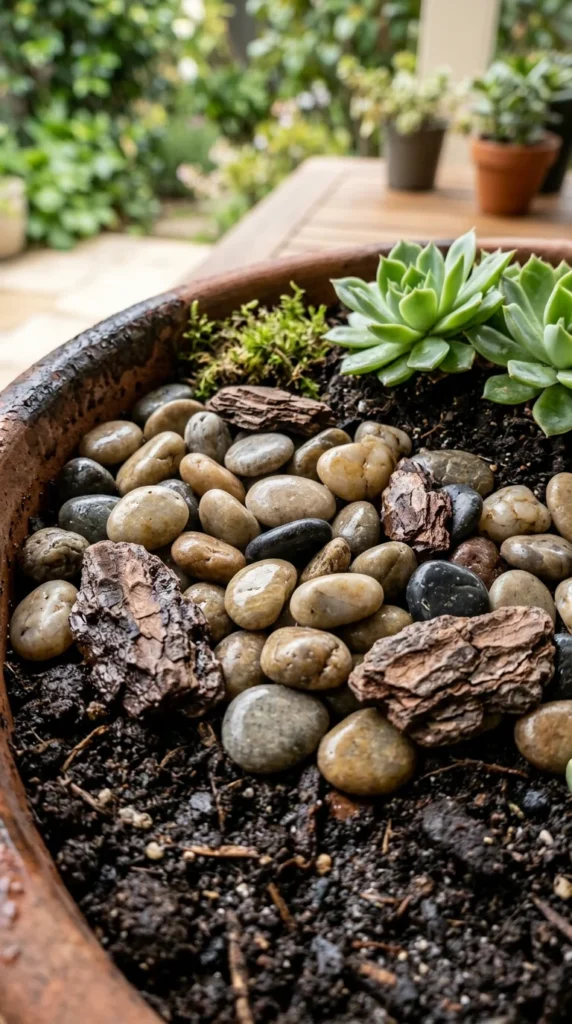
Mulching isn’t just for garden beds. Adding a one-inch layer of organic mulch (like shredded bark or cocoa hulls) or inorganic mulch (like pebbles or sea glass) to the top of your pots helps retain moisture by reducing evaporation. It also keeps the soil temperature cooler and prevents soil from splashing up onto the leaves when you water, which reduces the spread of soil-borne diseases.
11. Companion Planting
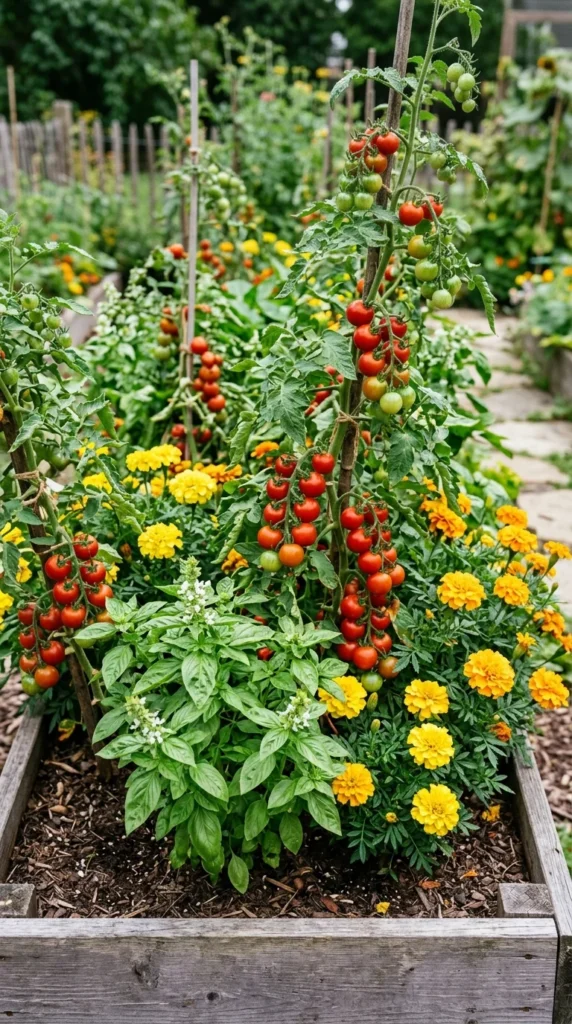
Maximize your space by grouping plants that benefit each other. This is known as companion planting. For example, planting marigolds with your vegetables can help deter pests like aphids. Planting basil at the base of tomato plants not only saves space but is rumored to improve the flavor of the tomatoes. Just ensure that the “roommates” you choose have the same light and water requirements.
12. Vertical Layers
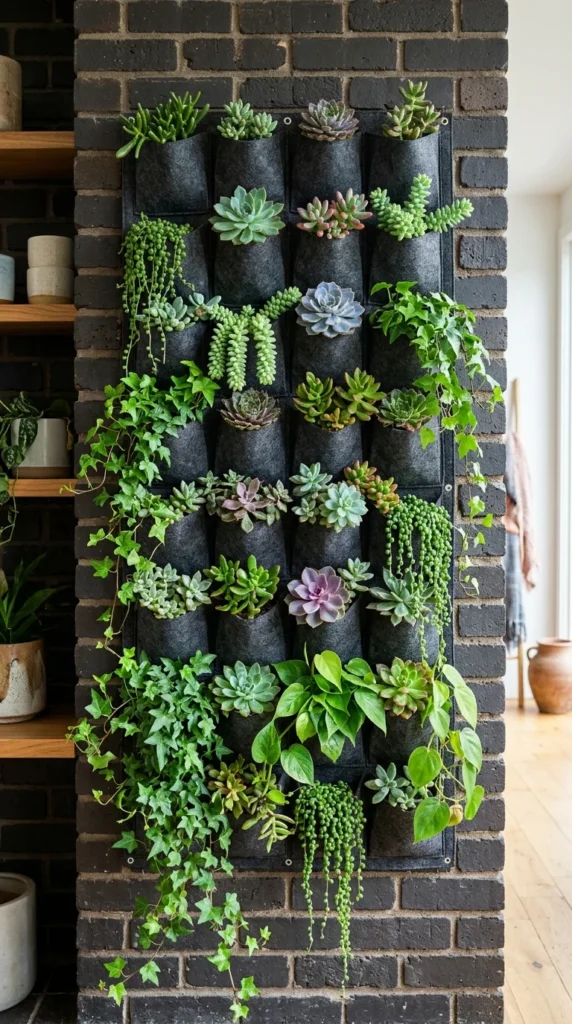
If you run out of floor space, look up. Vertical gardening is the secret to a lush environment in tight quarters. Use wall-mounted planters, hanging baskets, or trellises inserted into large pots. Climbing vines like Clematis or Mandevilla can provide a “green wall” effect, providing privacy and a sense of enclosure while taking up very little horizontal real estate.
13. Deadheading
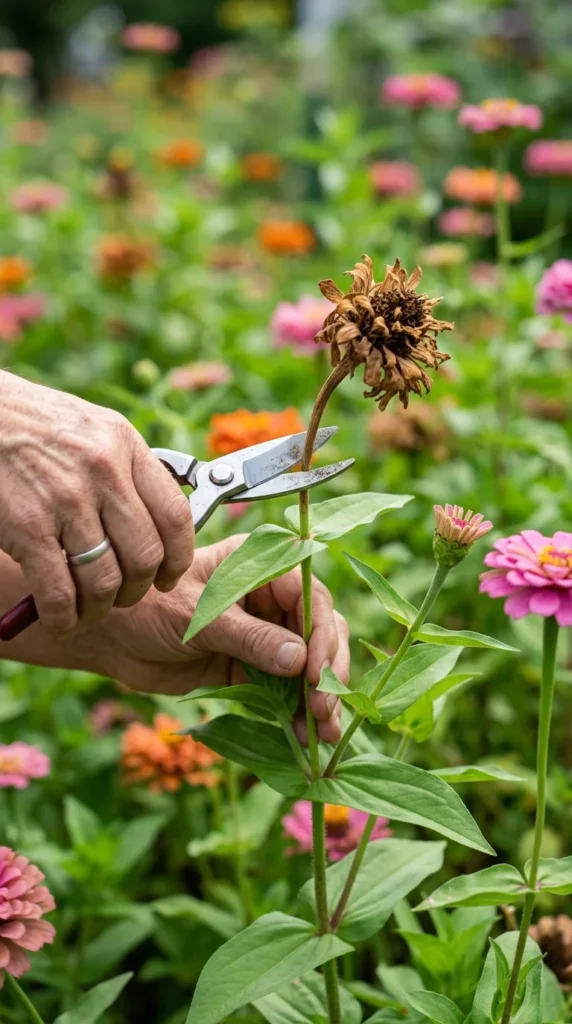
To keep your flowers blooming all summer, you must “deadhead” them. When a flower fades, the plant begins to put its energy into producing seeds. By snipping off the spent blooms, you trick the plant into thinking it hasn’t reproduced yet, prompting it to send out a fresh flush of flowers. For plants like petunias and geraniums, regular deadheading is the difference between a straggly plant and a floral explosion.
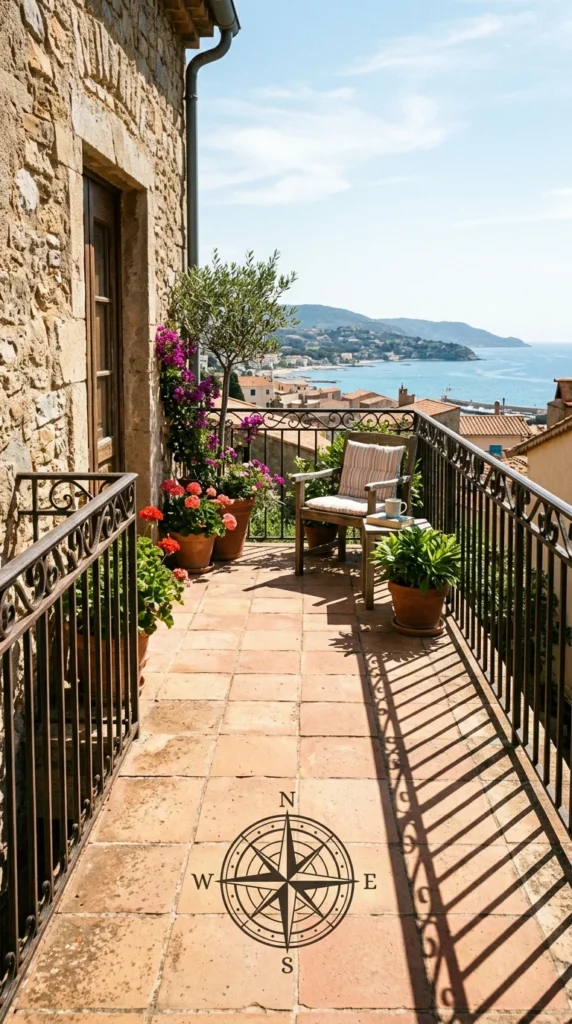
14. Microclimate Awareness
Every balcony or patio has its own microclimate. High-rise balconies can be extremely windy, which dries out plants at an accelerated rate. Concrete walls can hold heat long after the sun goes down, creating a “hot spot.” Be observant. If a plant is wilting despite wet soil, it might be in a wind tunnel. If a plant is crisping at the edges, it might be receiving too much reflected heat from a white wall. Move your pots around until they find their “happy place.”
15. Self-Watering Systems
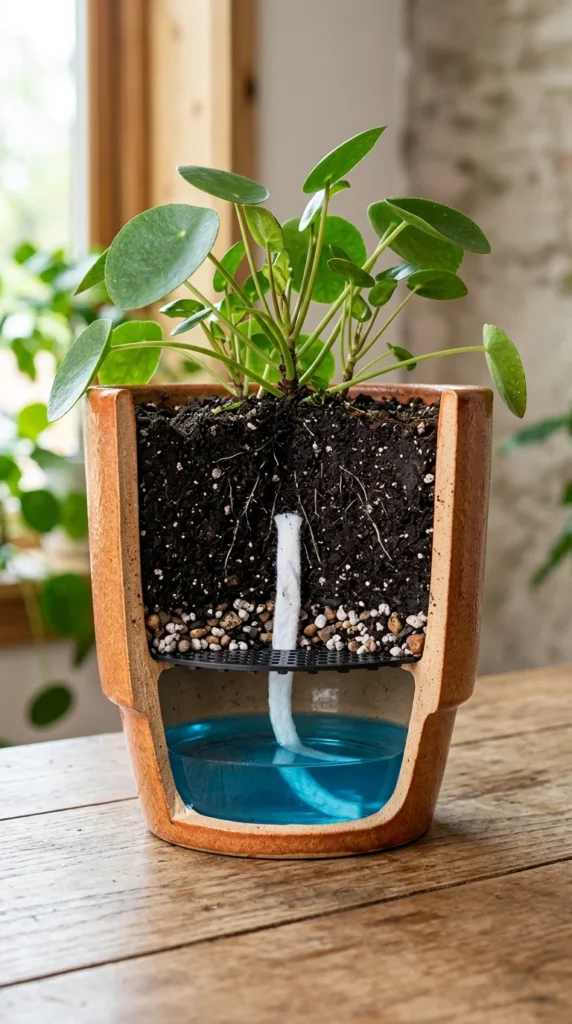
If you travel frequently or tend to be forgetful, self-watering containers are a game-changer. These pots feature a reservoir at the bottom that holds a supply of water. Through capillary action, the soil “wicks” the moisture up as needed. This provides a consistent level of hydration that is difficult to achieve with a manual watering can, especially for “thirsty” plants like tomatoes or hibiscus.
16. Pest Management

In a container garden, pests can spread rapidly because plants are often packed closely together. The secret is early detection. Once a week, “scout” your plants by looking at the undersides of leaves and at the new growth tips. If you find aphids or spider mites, a simple spray of neem oil or insecticidal soap is usually enough to stop the infestation. Encouraging beneficial insects like ladybugs can also provide a natural defense system.
17. Grouping Pots
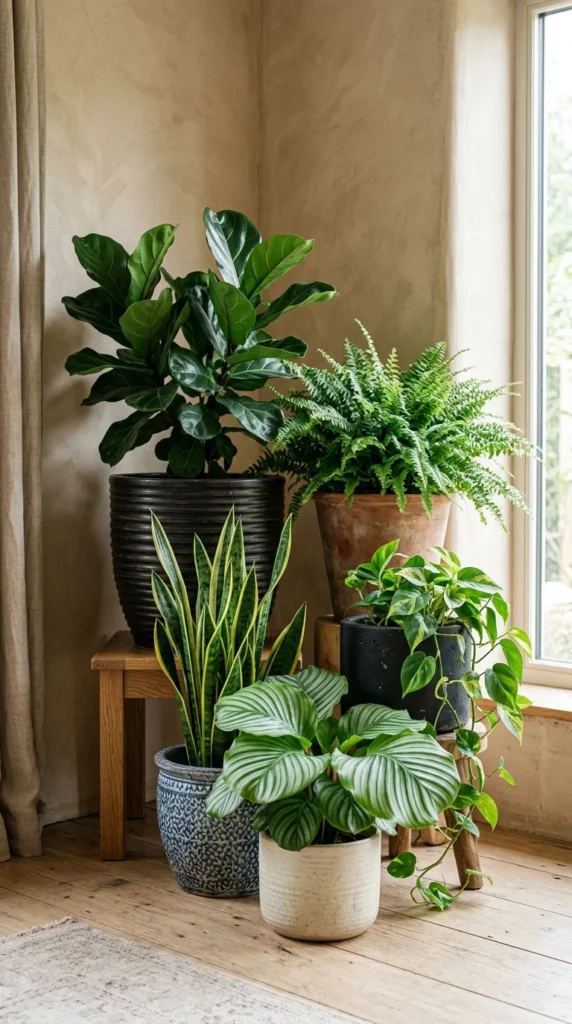
Don’t spread your pots out individually. Grouping them in “clusters” of three or five creates a more significant visual impact and makes the garden look more intentional. More importantly, grouping plants creates a small “humidity dome.” As the plants transpire (release moisture through their leaves), they increase the local humidity, which helps prevent the leaves from drying out in harsh conditions. Mix different heights and textures within the group for the best aesthetic result.