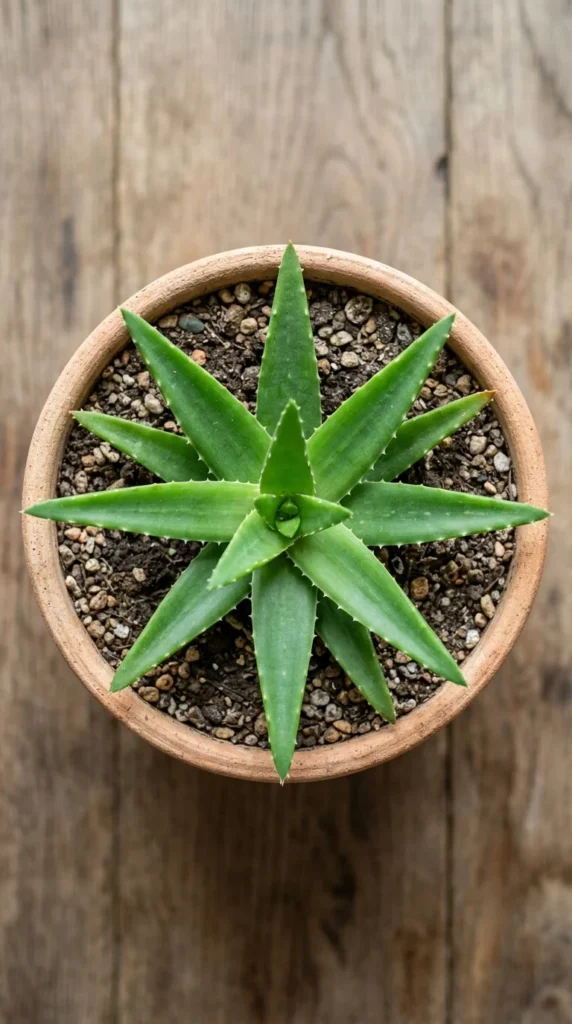
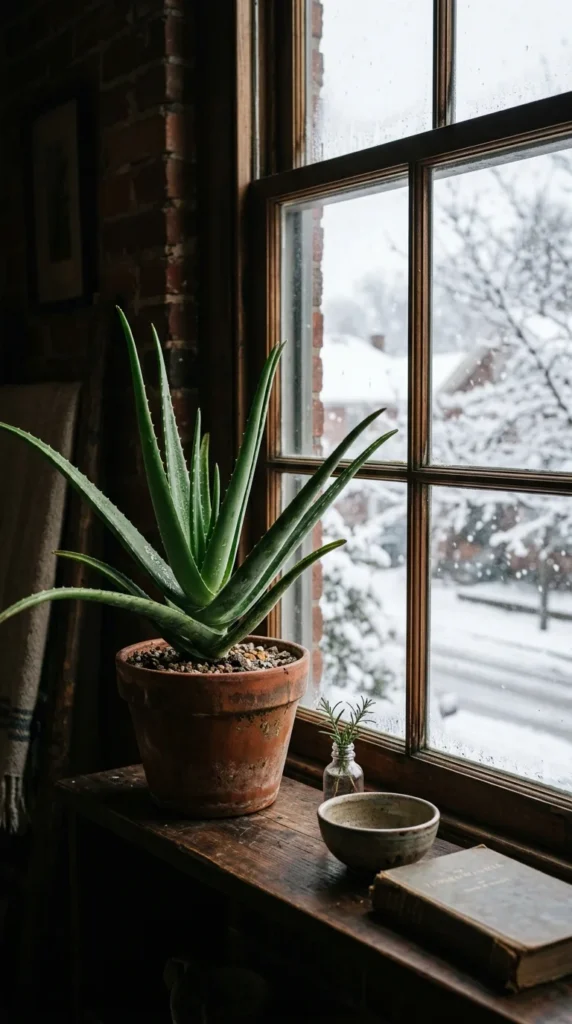
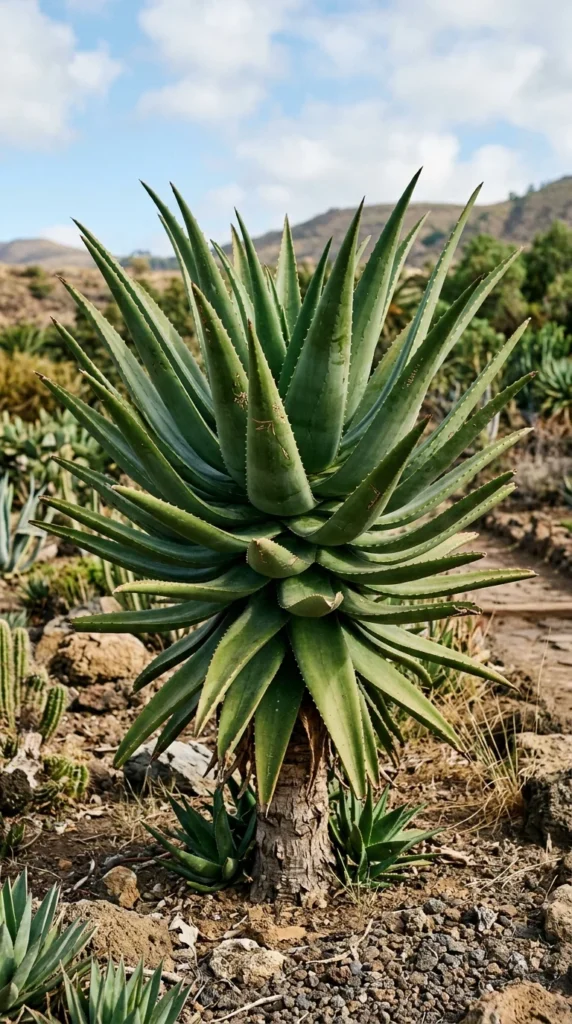
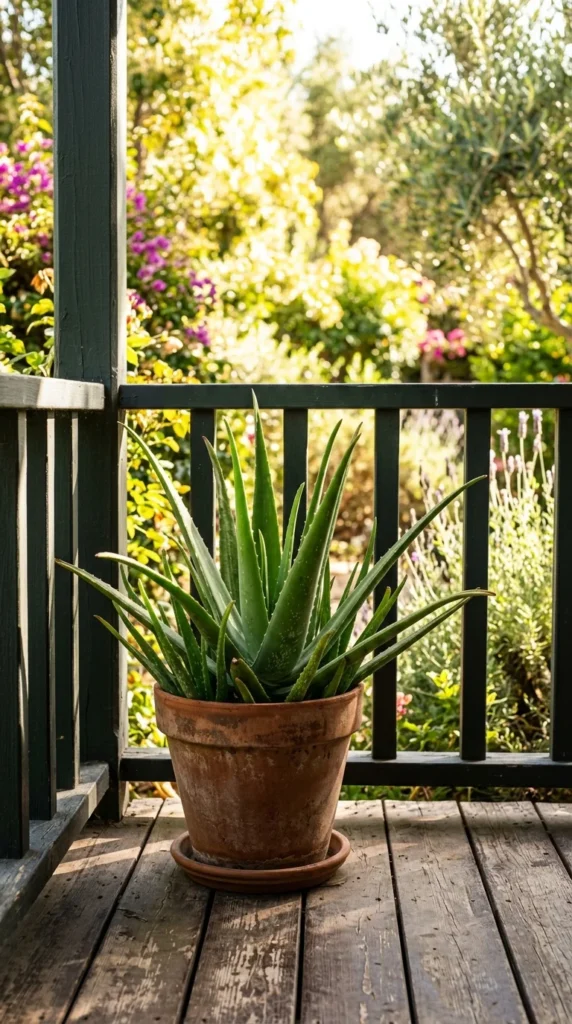
Aloe Vera is more than just a decorative succulent; it is a living pharmacy, a resilient companion, and a sculptural masterpiece for any indoor garden. Known as the “Plant of Immortality” by the ancient Egyptians, this spiky green wonder has survived for centuries in harsh desert climates. However, bringing one into your home requires a specific set of skills to help it truly thrive rather than just survive.
Whether you are a novice gardener or a seasoned “plant parent,” these 27 secrets will unlock the full potential of your Aloe Vera, ensuring it stays plump, green, and ready to heal.
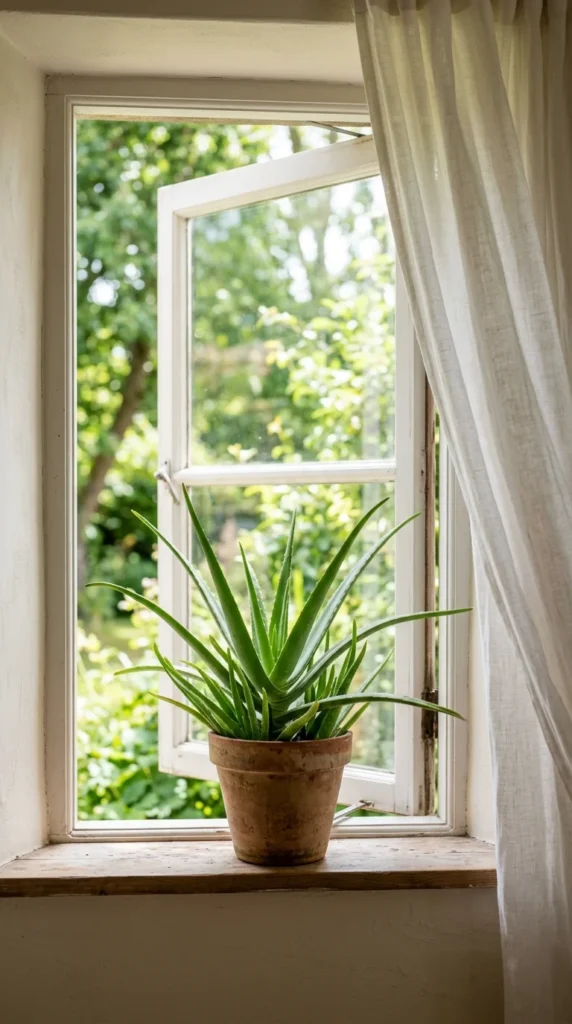
1. Sunlight
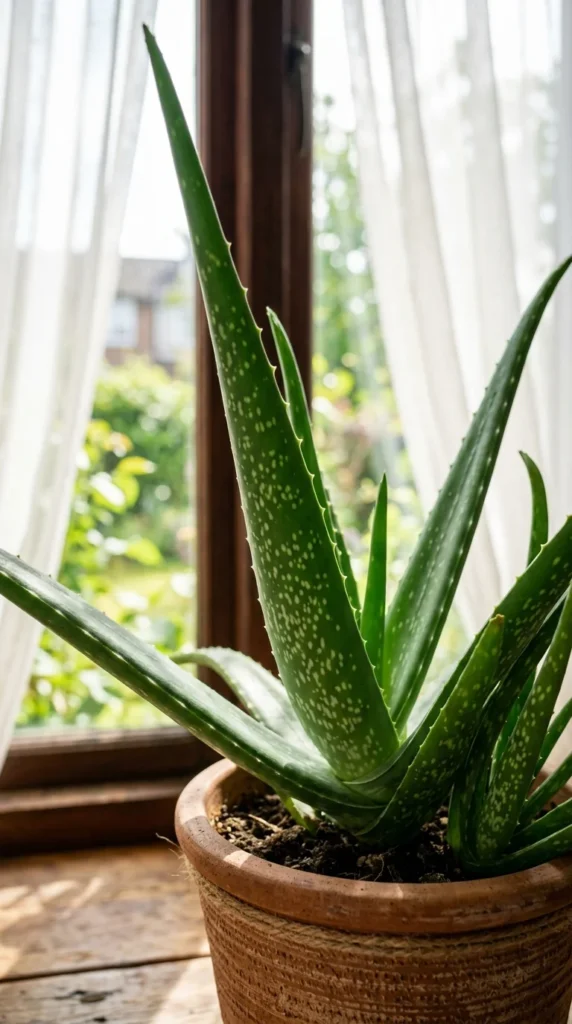
Aloe Vera thrives in bright, indirect light. While they are desert plants, direct, scorching afternoon sun can actually burn their fleshy leaves, turning them a stressed shade of orange or brown. A south- or west-facing window is usually the “sweet spot” where they can soak up six to eight hours of light without being toasted.
2. Drainage
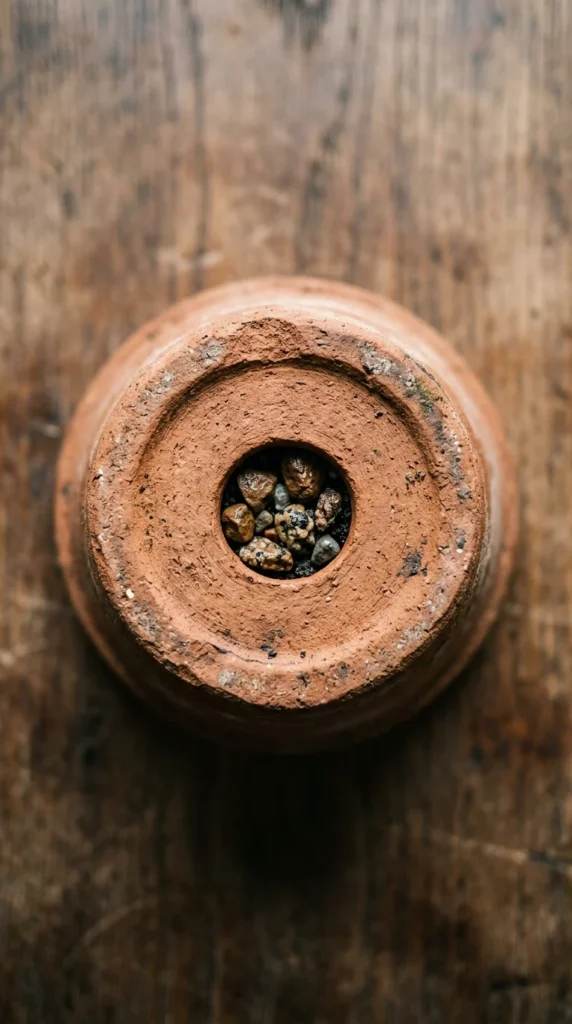
The quickest way to kill an Aloe is through “wet feet.” These plants are highly susceptible to root rot. Every pot you use must have ample drainage holes at the bottom. If you find a decorative pot without holes, use it as a “cachepot”—keep the Aloe in a plastic nursery liner with holes inside the decorative one.
3. Terracotta
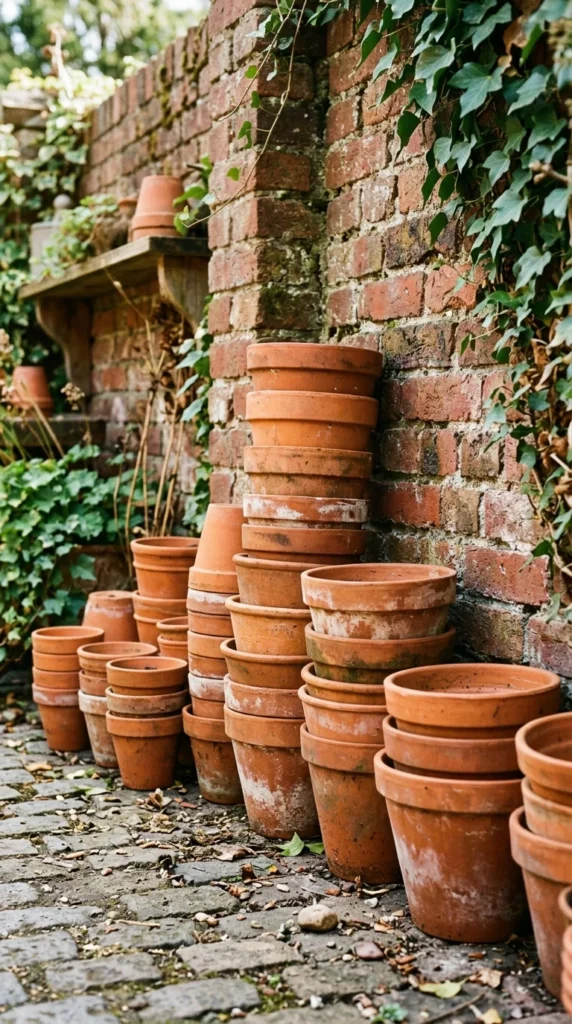
Terracotta is the best material for Aloe Vera. Because the clay is porous, it allows the soil to breathe and helps moisture evaporate more quickly from the sides of the pot. This prevents the soil from staying soggy for too long, which is the primary cause of plant death for succulents.
4. Soil Mix
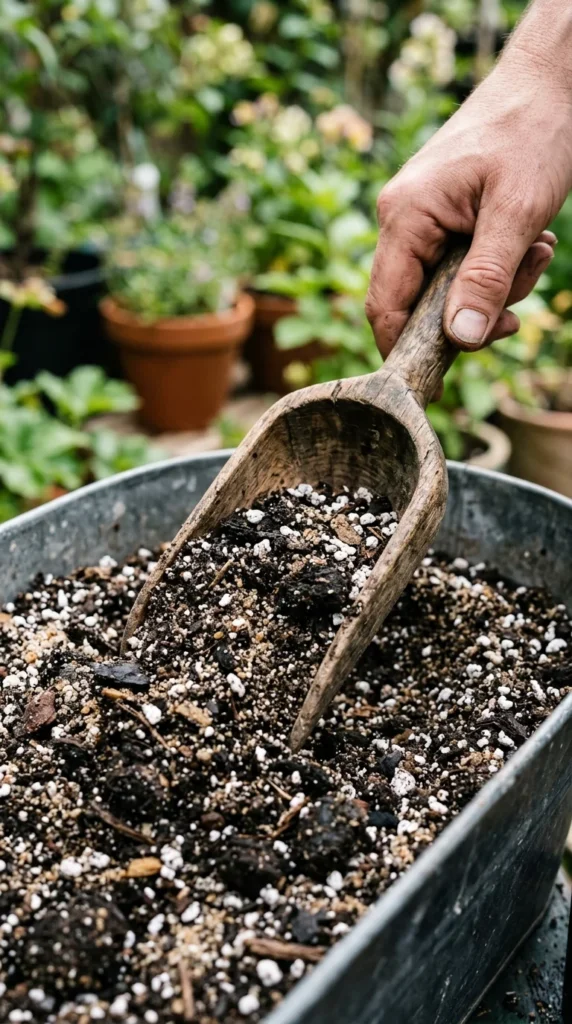
Never use standard garden soil or heavy potting mix. Aloe needs a “gritty” medium. Use a dedicated cactus or succulent mix, or create your own by mixing equal parts potting soil, coarse sand, and perlite. This ensures that water moves through the root zone quickly.
5. Soak and Dry

The “soak and dry” method is the golden rule of watering. Instead of giving the plant small sips of water frequently, wait until the soil is completely dry—at least two to three inches deep. Then, water the plant deeply until water runs out of the drainage holes. Then, leave it alone until the soil is parched again.
6. Pups
Aloe Vera plants are prolific producers of “pups” or offsets. These are mini-clones that grow from the base of the mother plant. Learning to identify and remove these is a secret to keeping the main plant healthy and expanding your collection for free.
7. Crowding
Aloe Vera likes to have a bit of breathing room. While they don’t mind being slightly root-bound, if the pot is overflowing with pups, the mother plant will struggle to find nutrients. Thinning out the babies once or twice a year keeps the airflow high and the stress low.
8. Temperature
Aloe Vera enjoys the same temperatures humans do—between 55°F and 80°F (13°C to 27°C). If you keep your plant outdoors during the summer, make sure to bring it inside before the first frost. A single night of freezing temperatures can turn the water-filled leaves into mush.
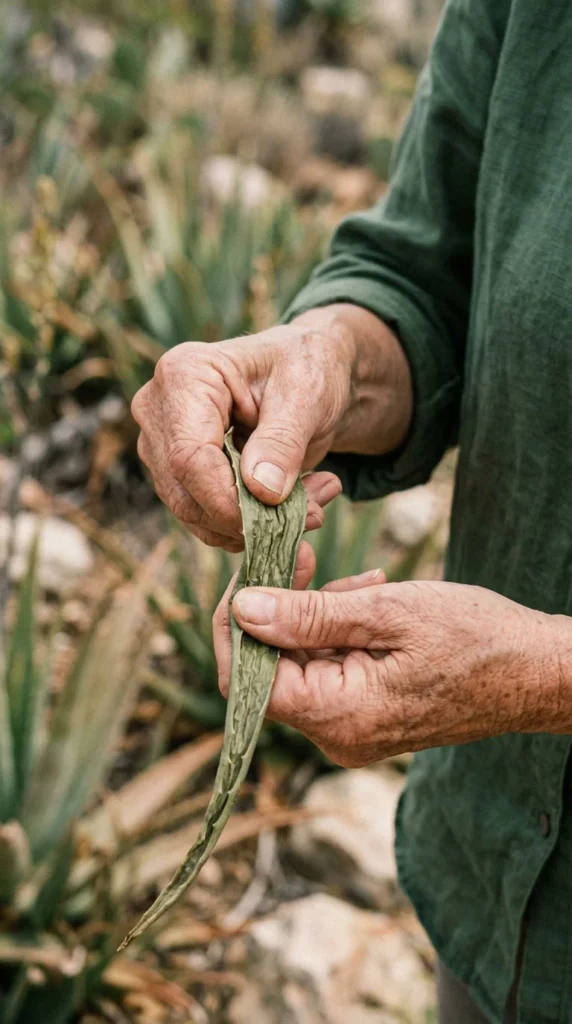
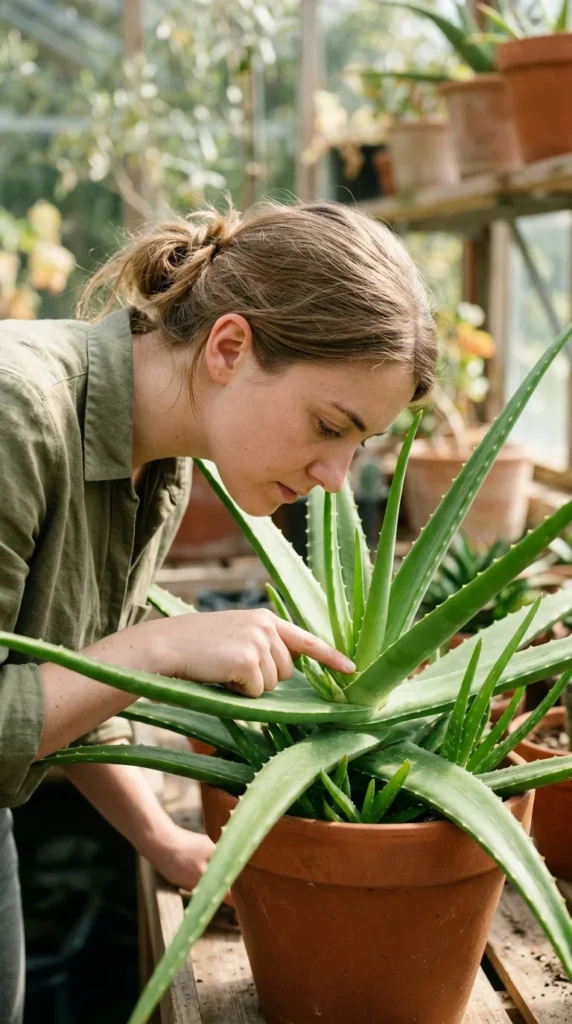
9. Harvesting
When you need gel for a burn or a face mask, always harvest the outermost, lowest leaves first. These are the oldest and most mature leaves, containing the highest concentration of beneficial gel. Cutting from the center can stunt the plant’s new growth.
10. Dusting
Aloe leaves act as solar panels. When dust settles on them, it blocks sunlight and reduces the plant’s ability to photosynthesize. Once a month, gently wipe the leaves with a damp cloth to keep them clean and shiny.
11. Root Bound
Aloe Vera actually flowers better and grows more robustly when it is slightly root-bound. Don’t rush to repot into a giant container. Only move up one pot size when the roots start poking out of the drainage holes or the plant becomes so top-heavy it tips over.
12. Fertilizing

Less is more when it comes to feeding. Aloe Vera doesn’t need much fertilizer. If you choose to feed it, use a balanced liquid houseplant fertilizer diluted to half-strength, and only apply it once a month during the active growing season (spring and summer).
13. Winter Dormancy
In the winter, Aloe Vera enters a period of dormancy. Its growth slows down significantly, and its water needs drop to almost zero. You may only need to water your plant once every six to eight weeks during the cold months.
14. Brown Tips
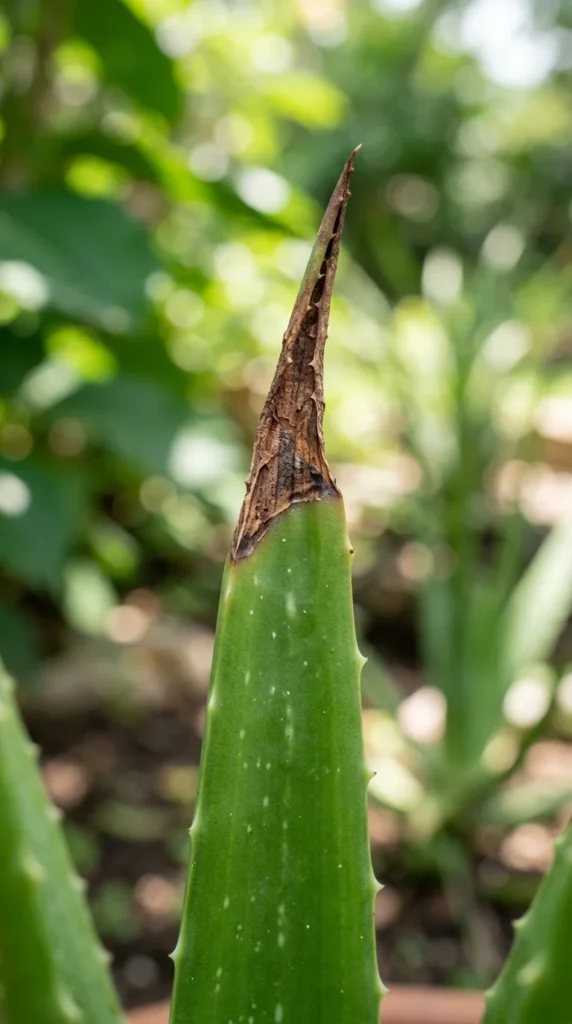
If the very tips of your leaves are turning brown and crispy, it’s often a sign of underwatering or chemical sensitivity to tap water. Try using filtered water or letting tap water sit out overnight before using it to allow chlorine to evaporate.
15. Mushy Base
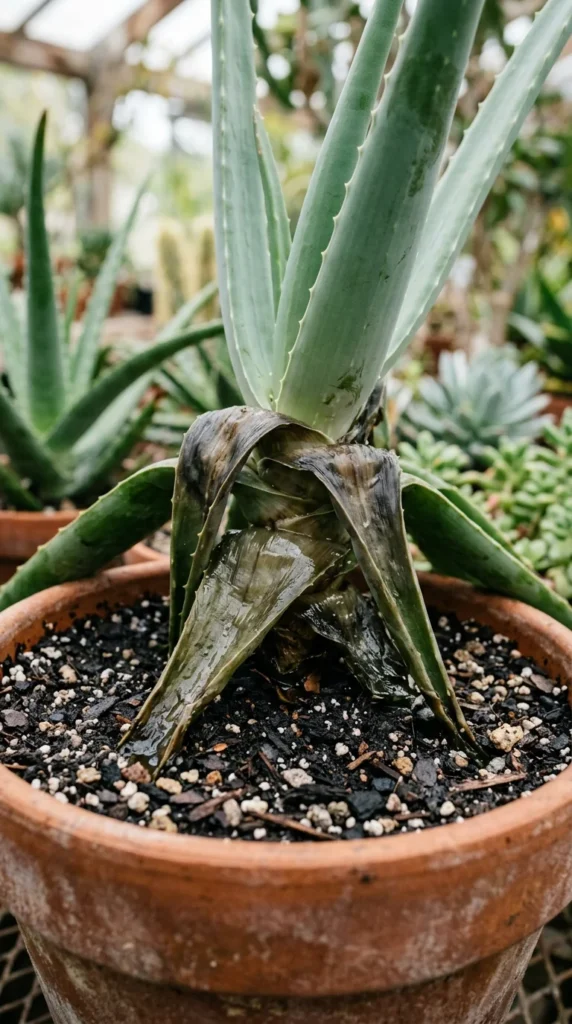
A mushy, blackened base is the ultimate red flag for overwatering. If you see this, stop watering immediately. You may need to remove the plant from the soil, cut away the rotten parts, and let it “callous” over for a few days before replanting in fresh, dry soil.
16. Leaf Color
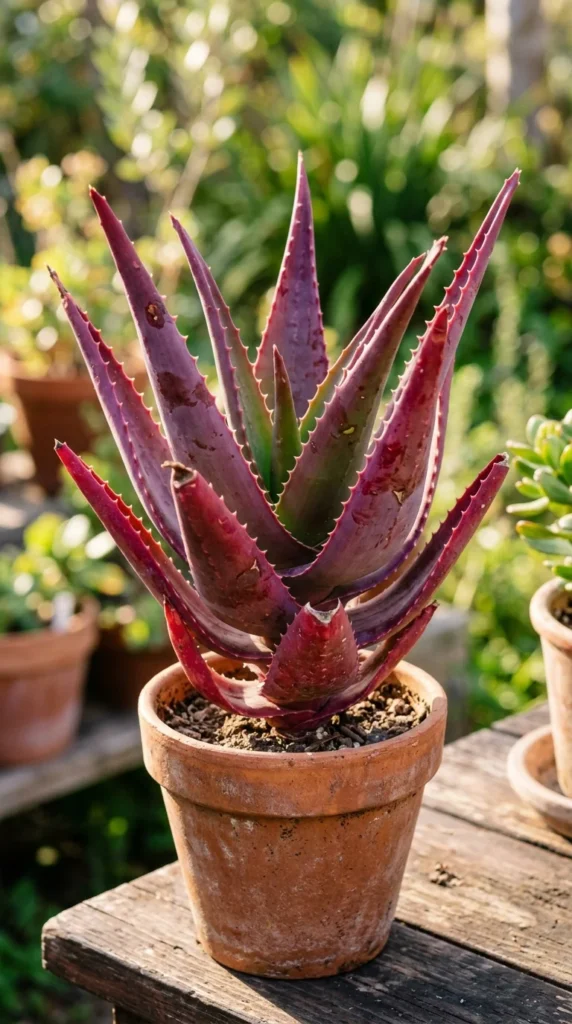
If your Aloe starts turning red or purple, it is likely “sun-stressed.” This isn’t necessarily fatal, but it means the plant is getting more light than it can handle. Move it a few feet away from the window, and the green color will usually return within a week.
17. Deep Potting

When repotting, never bury the leaves. The “crown” (where the leaves meet the roots) should sit right at the soil surface. Burying the leaves leads to stem rot, as the moisture in the soil will seep into the leaf bases.
18. Airflow
Aloe plants hate stagnant air. Good air circulation prevents fungal issues and helps the soil dry out after watering. If your home is particularly humid, consider a small fan to keep the air moving around your plant collection.
19. Maturity
Don’t expect your tiny nursery Aloe to provide gallons of gel immediately. Aloe Vera plants usually need to be 2-3 years old before their leaves are thick enough and the medicinal properties are fully developed. Patience is a secret ingredient in Aloe care.
20. Tool Hygiene
Whenever you cut your Aloe—whether for harvesting or removing pups—always use sterilized tools. Use rubbing alcohol to clean your shears. This prevents the spread of bacteria or fungus into the “open wound” of the plant.
21. Propagating Pups
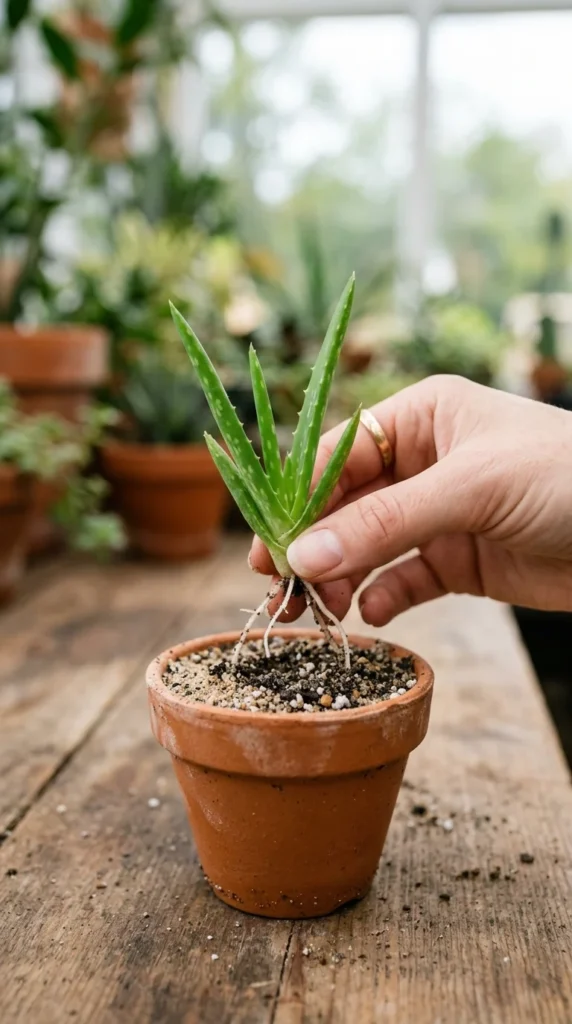
When you remove a pup, don’t plant it immediately if the roots were damaged. Let the pup sit in a dry, shaded spot for 24 to 48 hours until the cut end forms a “scab” or callous. This prevents the baby plant from rotting when it hits the moist soil.
22. Flowering
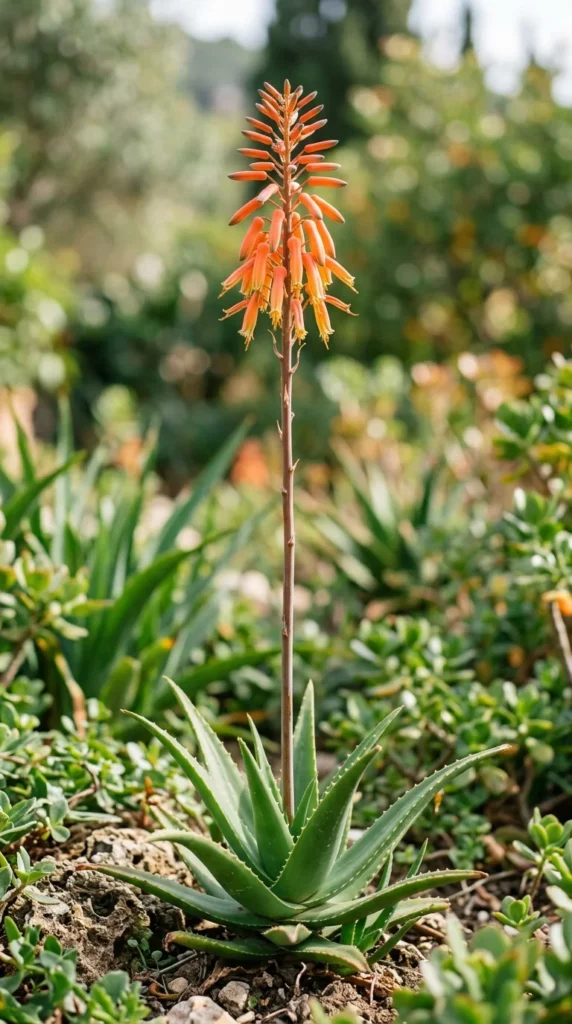
Indoor Aloe Vera rarely flowers, but it’s a spectacular sight when it does. To encourage blooming, the plant needs to be mature and have experienced a slightly cooler, drier winter followed by a very bright spring. The tall orange or yellow spikes are a sign of a very happy plant.
23. Pests
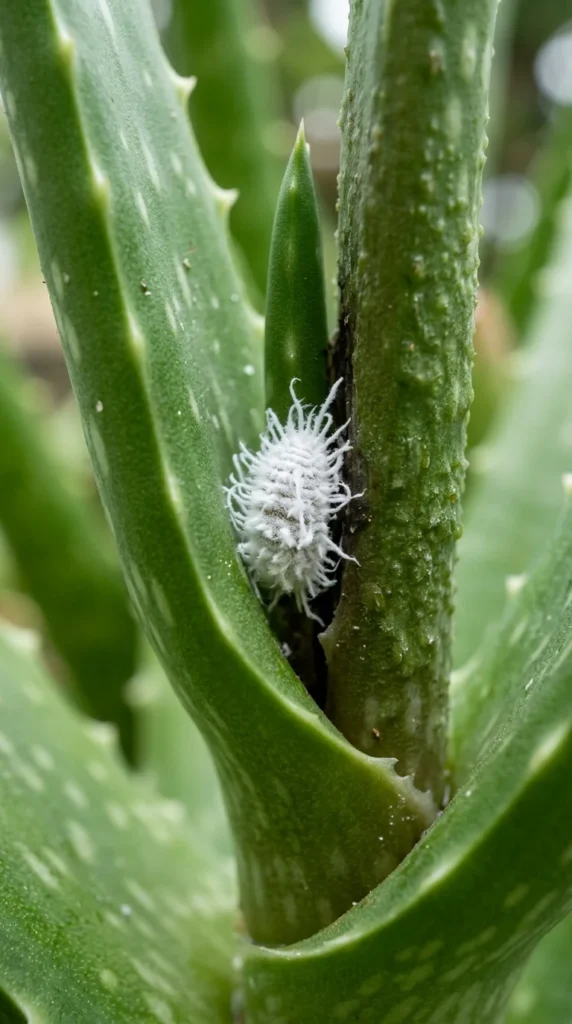
While hardy, Aloe can fall victim to mealybugs or scale. These look like tiny white cotton tufts or brown bumps. Treat them early by dabbing them with a cotton swab dipped in rubbing alcohol. Catching them early is the secret to preventing a full-blown infestation.
24. Leaf Thinning
If your Aloe leaves look flat and thin rather than plump and rounded, the plant is using up its water reserves. This is a clear sign that you aren’t watering deeply enough. Give it a good “soak” and the leaves should plump back up within a few days.
25. Acclimatization
If you decide to move your indoor Aloe outside for the summer, do it gradually. Put it in full shade for a few days, then dappled sunlight, then partial sun. Moving it directly from a dim living room to a sunny patio will result in severe sunburn.
26. pH Balance
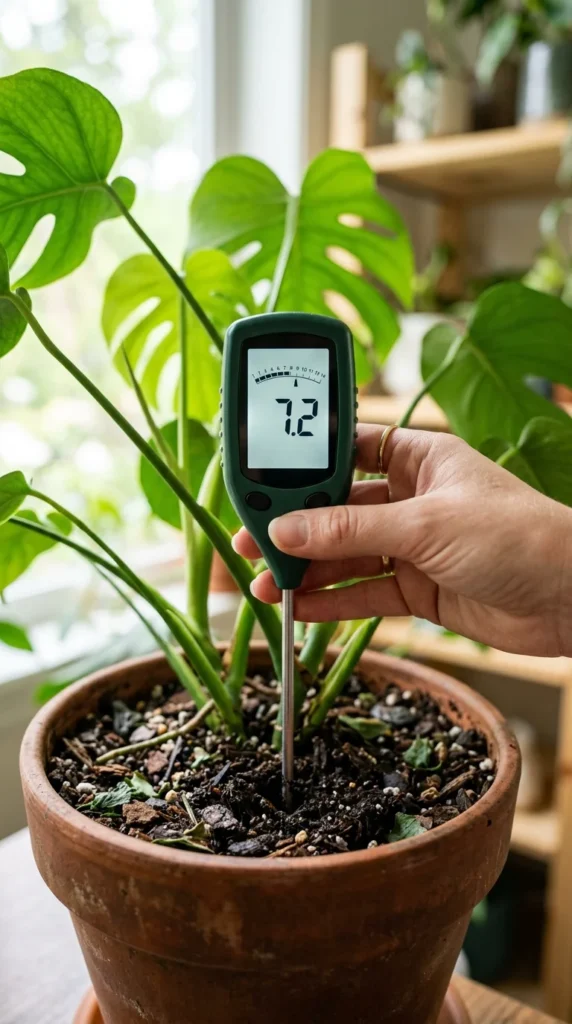
Aloe Vera prefers a slightly acidic to neutral soil pH (around 6.0 to 7.0). Most commercial cactus mixes are already in this range, but if your plant is struggling despite perfect care, a quick soil test might reveal that the pH is too alkaline.
27. Observation
The final secret is simply observation. Aloe Vera is a communicative plant. It changes color, texture, and posture to tell you what it needs. Spend a minute each week really looking at the base, the tips, and the center of your plant. Your attention is the best fertilizer you can provide.