The transition from a casual plant owner to a seasoned “plant parent” involves more than just remembering to water your greenery once a week. It requires an understanding of the subtle rhythms of plant life, the chemistry of soil, and the physics of light. While many plants are resilient, they often provide subtle clues about their health that go unnoticed by the untrained eye. To truly help your indoor jungle thrive, you must look beyond the basic instructions on the plastic nursery tag.
1. Light Acclimation
Most houseplants are grown in highly controlled greenhouse environments before arriving at your home. Moving a plant directly from a dim corner to a bright south-facing window can cause “leaf scorch,” which manifests as bleached or crispy brown patches. The secret is gradual acclimation. Move your plant closer to its permanent light source over the course of two weeks, allowing the cellular structure of the leaves to toughen up and adapt to the higher intensity of UV rays.
2. Bottom Watering
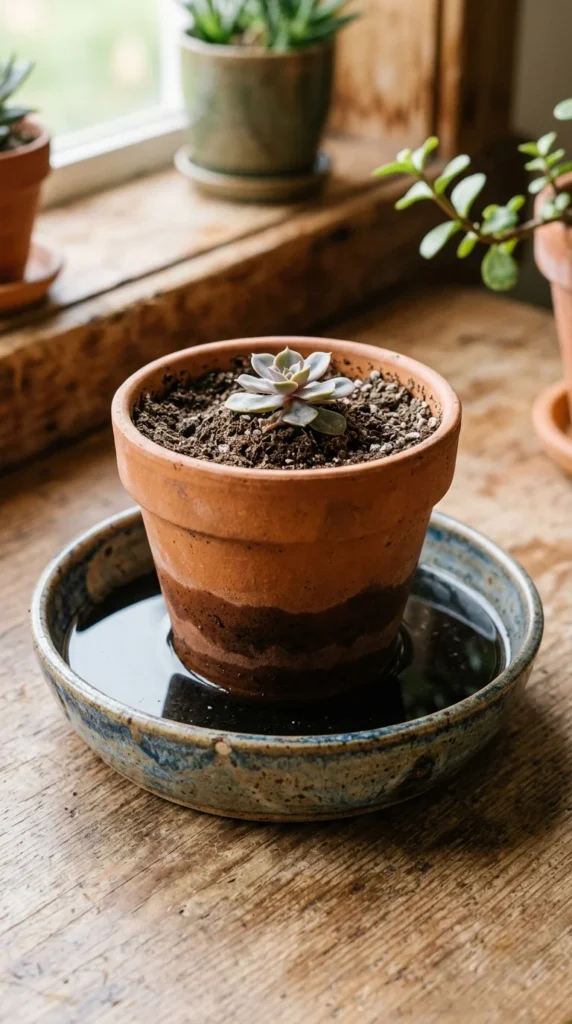
Top watering often leads to “channeling,” where water runs through the easiest path in the soil and out the bottom without actually saturating the root ball. Bottom watering is the secret to deep hydration. Place your pot in a tray or sink filled with a few inches of water and let it sit for 20 to 30 minutes. The soil will act like a sponge, pulling moisture upward through capillary action. This ensures the roots at the very bottom receive the hydration they need and helps prevent fungus gnats, which thrive in moist topsoil.
3. Drainage Essentials
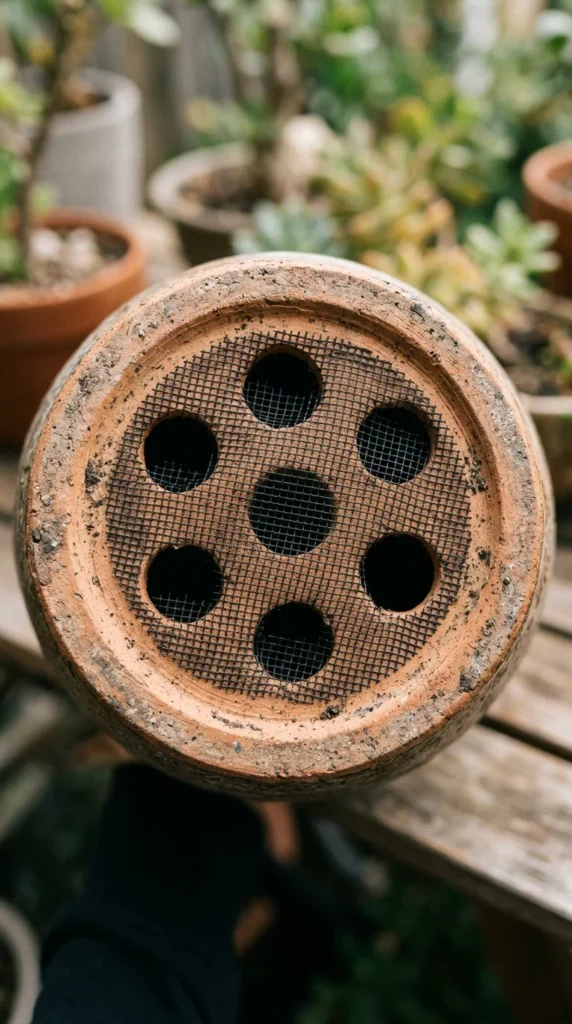
The fastest way to kill a houseplant is through root rot, which is almost always caused by lack of drainage. If you find a decorative pot without a hole, do not plant directly into it. Instead, use a “cachepot” system: keep the plant in its plastic nursery liner (which has holes) and place that inside the decorative container. This allows you to remove the plant to water it and ensures that no stagnant water sits at the base of the roots, effectively “drowning” the plant’s ability to take in oxygen.
4. Leaf Dusting
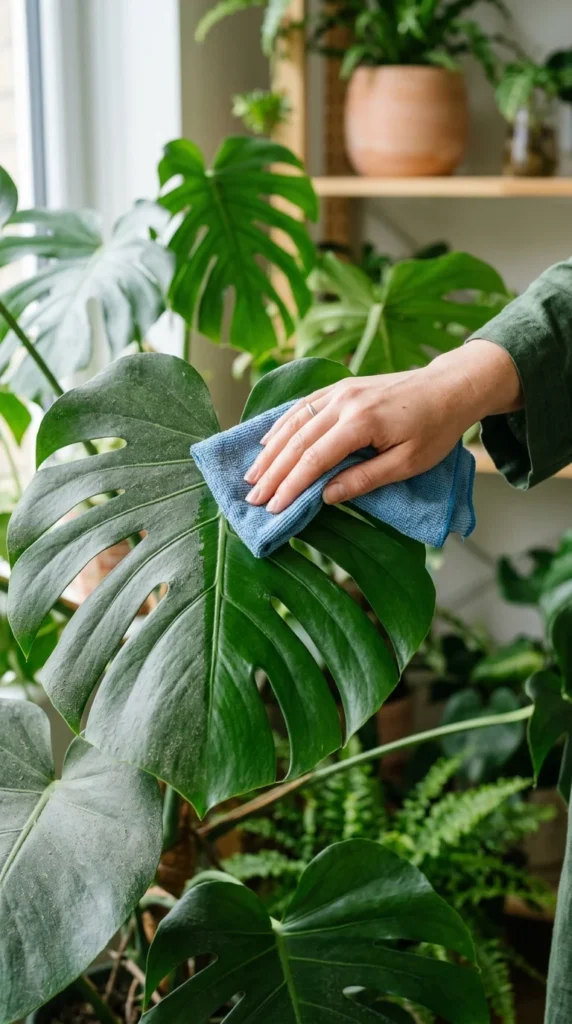
Dust is more than just an aesthetic issue; it’s a physical barrier to photosynthesis. When a thick layer of dust settles on leaves, it blocks sunlight and clogs the stomata (the pores plants use to breathe). Once a month, use a damp cloth to gently wipe down both the tops and bottoms of the leaves. For plants with small or delicate leaves, a quick lukewarm shower in the bathtub can achieve the same result. Clean leaves can absorb light up to 20% more efficiently than dusty ones.
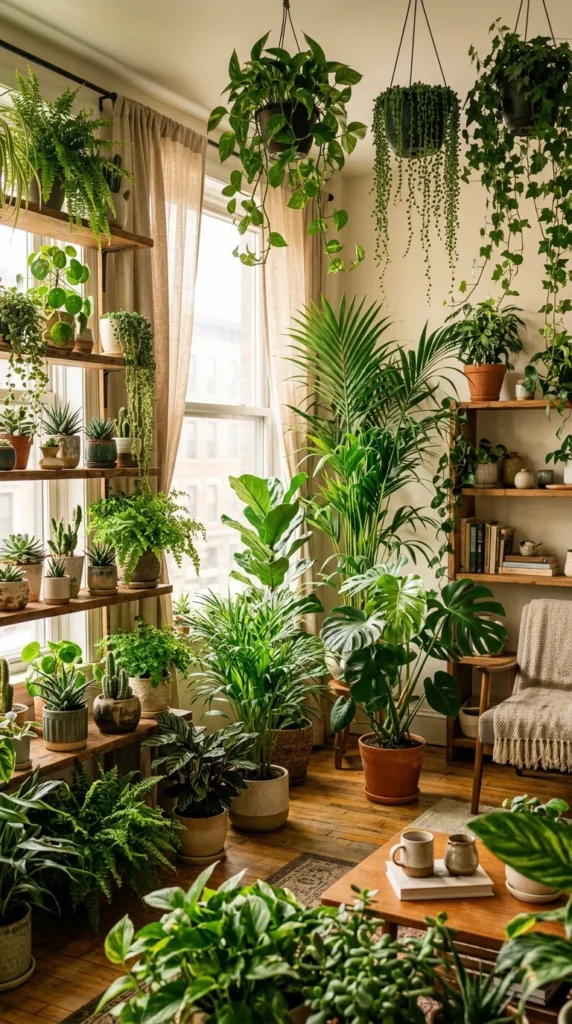
5. Humidity Microclimates
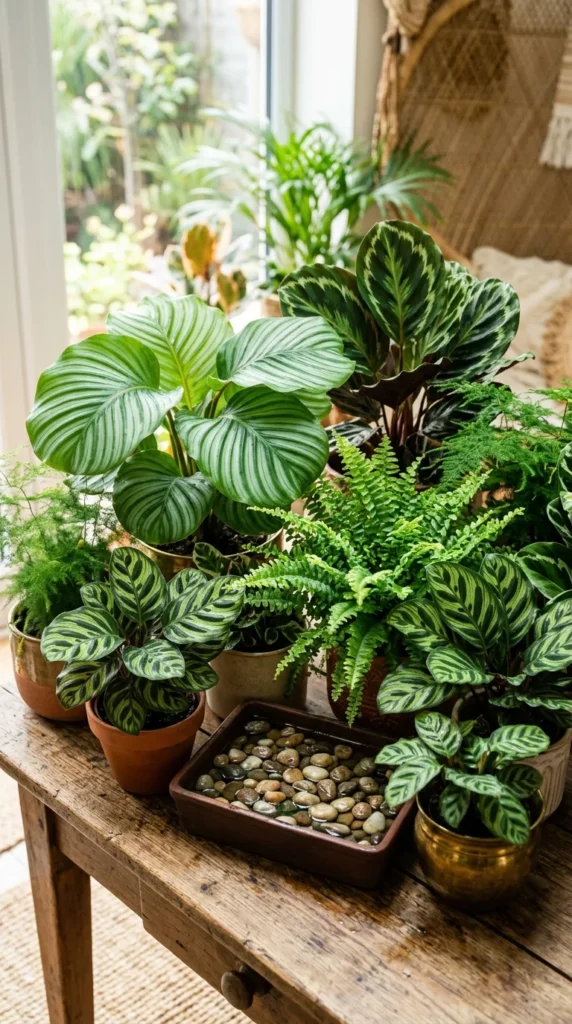
Most tropical houseplants require humidity levels between 50% and 60%, but the average home sits at around 30%—especially during winter. While misting provides a temporary boost, it only lasts for minutes. The secret is creating a microclimate. Grouping plants together allows them to share moisture through transpiration. Additionally, placing plants on a tray filled with pebbles and water (ensuring the pot sits on the pebbles, not in the water) creates a localized zone of high humidity as the water evaporates.
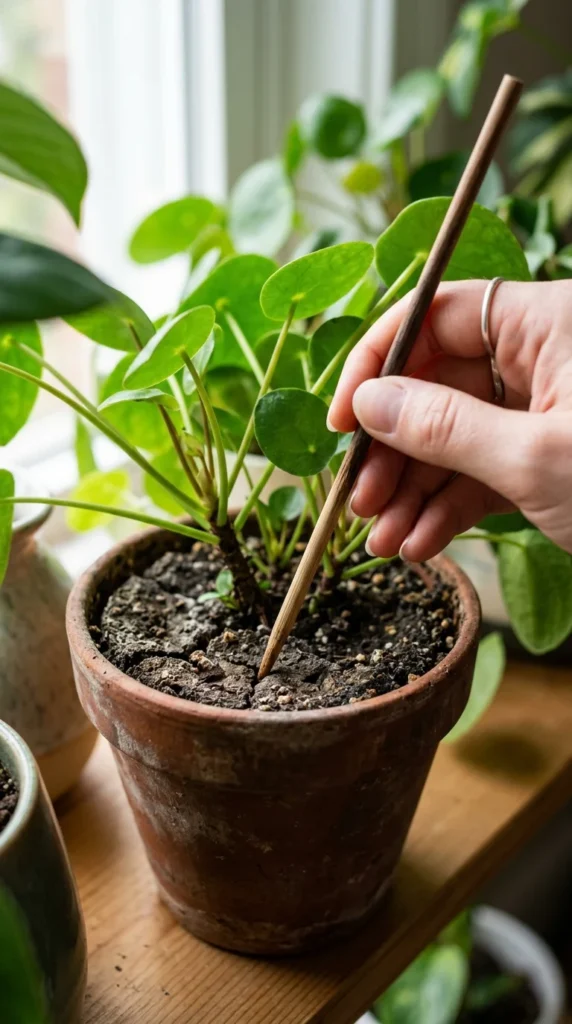
6. Moisture Testing
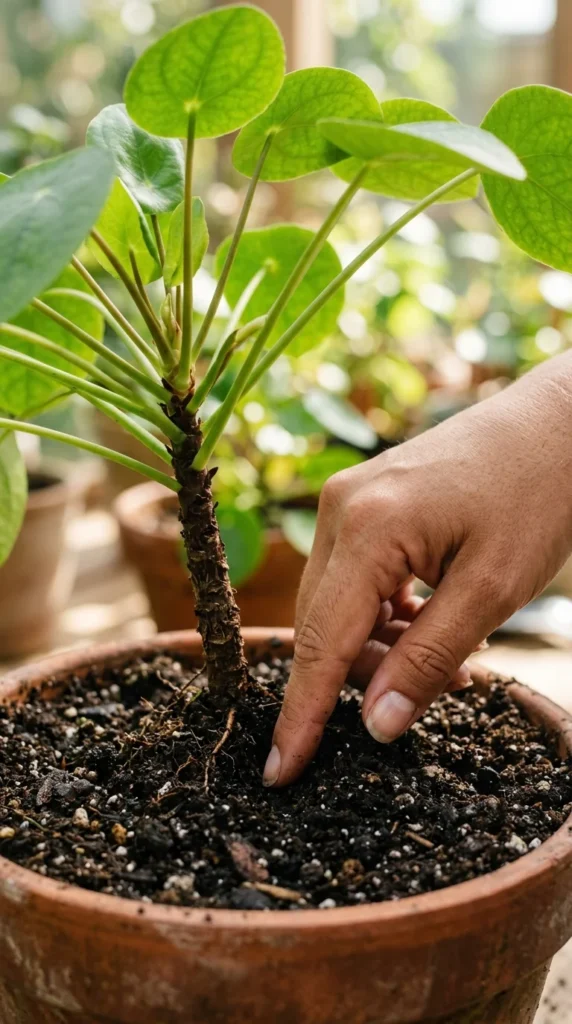
Relying on a strict watering schedule (e.g., “every Monday”) is a common mistake because environmental factors like temperature and light change daily. The most reliable moisture meter is your finger. Stick your finger into the soil up to the second knuckle. If it feels damp and cool, wait. If it feels dry and dusty, it’s time to water. For larger pots, a wooden chopstick can be used; if it comes out clean like a toothpick from a finished cake, the soil is dry deep down.
7. Seasonal Adjustments

Plants operate on a biological clock. During the spring and summer, they are in their “growing season” and require more water and nutrients. In the winter, many houseplants enter a semi-dormant state. Their metabolism slows down, meaning they need significantly less water. Overwatering in the winter is a primary cause of plant death. Additionally, stop fertilizing in late autumn, as the plant cannot utilize those nutrients while dormant, which can lead to salt buildup in the soil.
8. Aerating Soil
Over time, potting soil becomes compacted due to repeated watering, which squeezes out the oxygen pockets that roots need to survive. Every few months, use a chopstick or a thin stake to gently poke holes into the soil. This “aeration” allows oxygen to reach the root zone and helps water penetrate more evenly. If the soil has become so hard that water just sits on top, it’s time to either aerate or completely refresh the potting medium.
9. Fertilizer Dilution
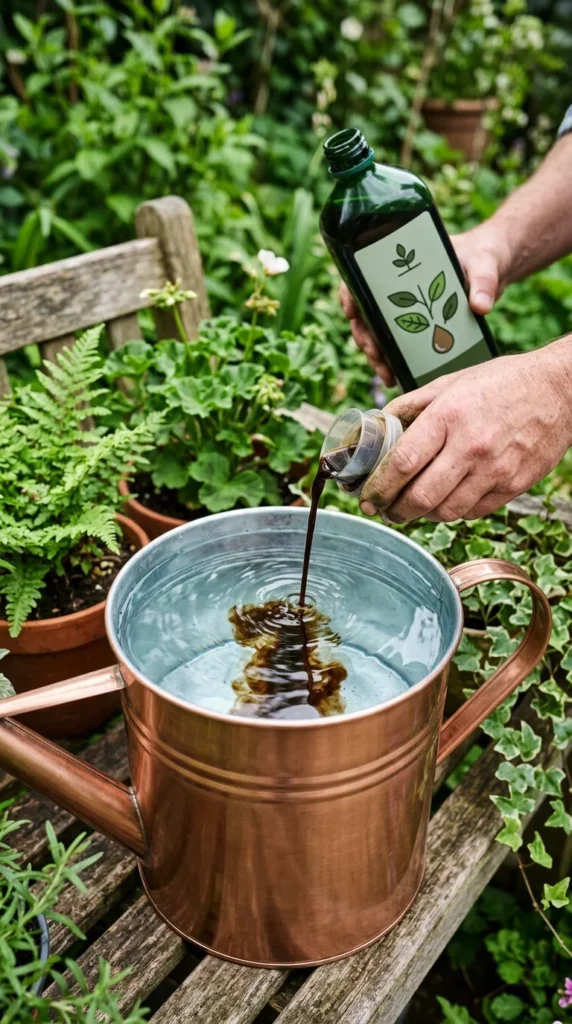
Commercial fertilizers are often too strong for indoor plants, which grow much more slowly than outdoor varieties. A secret among experts is to “fertilize weakly, weekly.” Dilute your liquid fertilizer to half or even a quarter of the recommended strength on the label. This provides a steady, gentle stream of nutrients without the risk of “fertilizer burn,” which causes the tips of leaves to turn brown and crispy.
10. Soil Composition

Standard “all-purpose” potting soil is often too heavy and retains too much water for many houseplants. The secret to a thriving plant is a custom “chunky” mix. Adding perlite or pumice increases drainage, while orchid bark provides aeration. For plants like Monsteras or Philodendrons, a mix of 50% potting soil, 25% perlite, and 25% bark creates an environment that mimics the airy forest floor, preventing root rot while keeping moisture accessible.
11. Pest Prevention
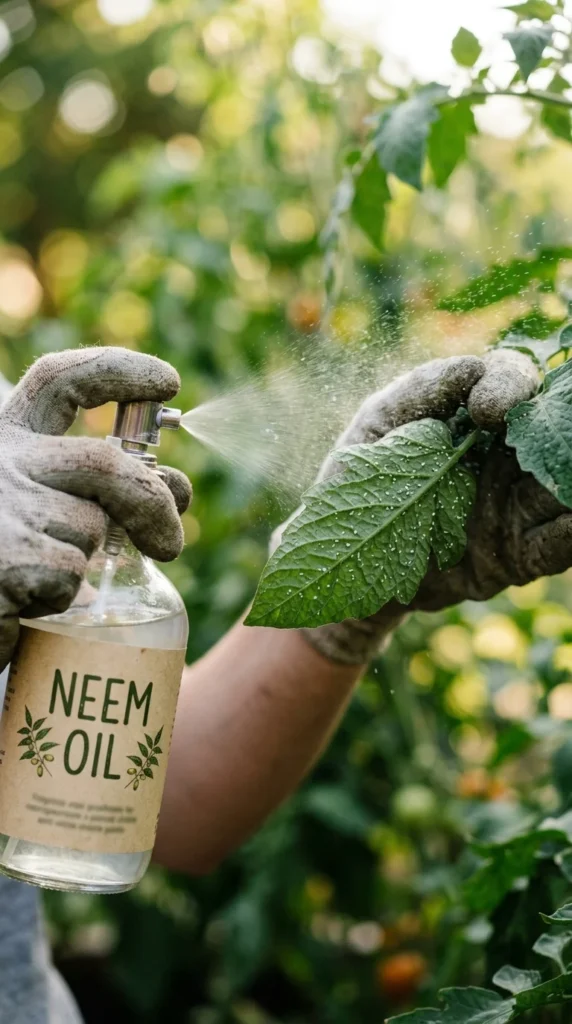
By the time you see a spider web or a swarm of gnats, the infestation is already advanced. The secret is proactive prevention. Once every two weeks, inspect the undersides of leaves and the “crooks” where the leaf meets the stem—this is where pests like mealybugs and spider mites hide. Wiping leaves with a diluted neem oil solution not only shines the leaves but also acts as a natural repellent and insecticide to keep populations from starting.
12. Strategic Pruning
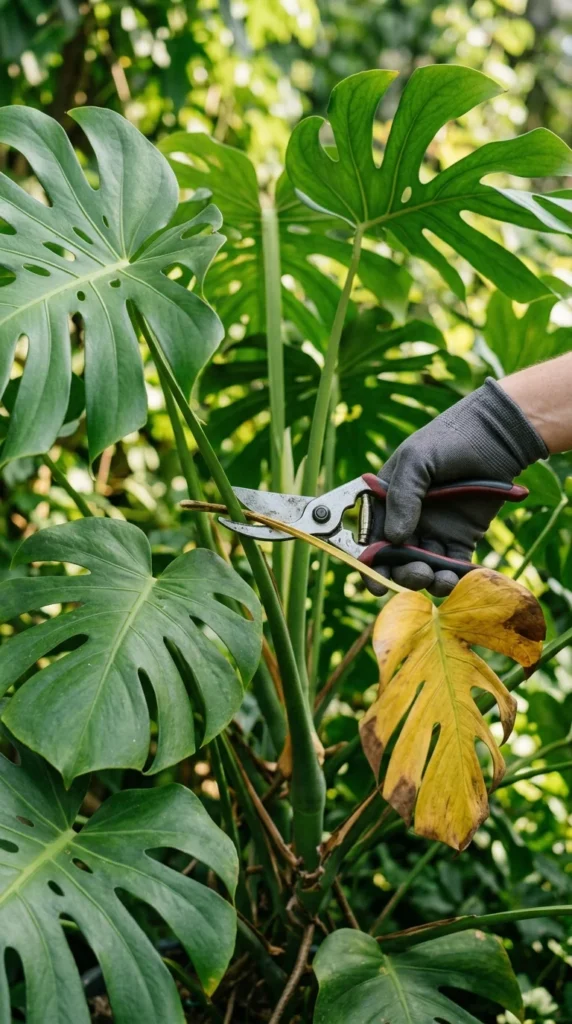
Many plant parents are afraid to cut their plants, but pruning is essential for health and shape. Removing yellowing or dead leaves allows the plant to redirect its energy toward new, healthy growth rather than trying to salvage a dying limb. Furthermore, “pinching back” the tips of vining plants like Pothos or Tradescantia encourages the plant to branch out, resulting in a fuller, bushier appearance rather than long, leggy stems.
13. Water Quality
Some plants, particularly Calatheas, Spider Plants, and Dracaenas, are highly sensitive to the chemicals found in municipal tap water. Chlorine, fluoride, and heavy metals can cause “tip burn.” If you notice the very ends of your leaves turning brown despite proper watering, try using distilled water, rainwater, or filtered water. Alternatively, let a jug of tap water sit out for 24 hours to allow the chlorine to dissipate before using it on your plants.
14. Temperature Stability
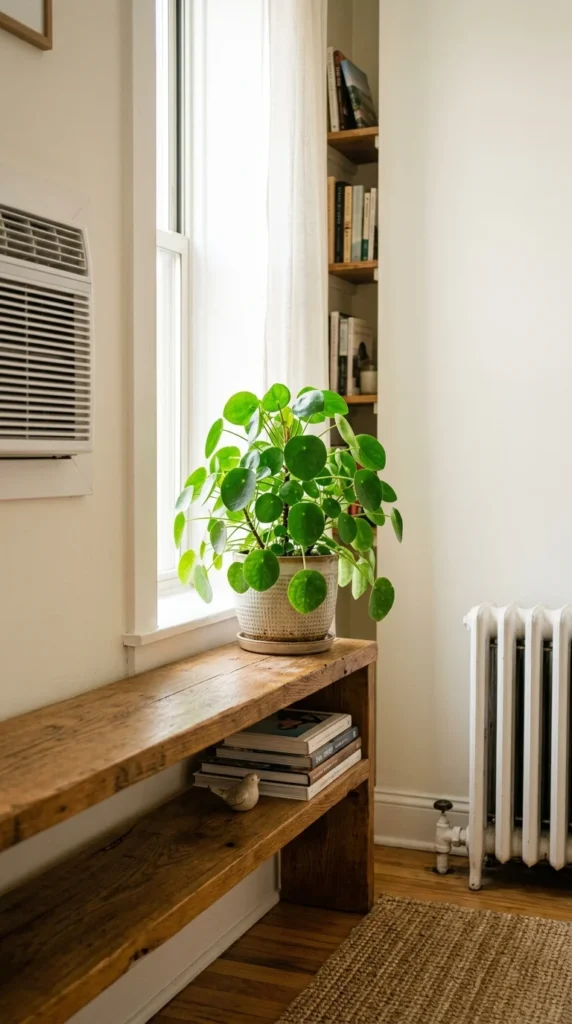
Houseplants are generally comfortable in the same temperature range as humans (65°F to 75°F). However, they are extremely sensitive to sudden fluctuations. A plant placed directly in front of an air conditioning vent or next to a drafty winter window will experience “temperature shock,” leading to sudden leaf drop. The secret is consistency. Keep your plants away from “hot spots” like radiators and “cold spots” like entryways that see frequent outdoor exposure.
15. Plant Rotation
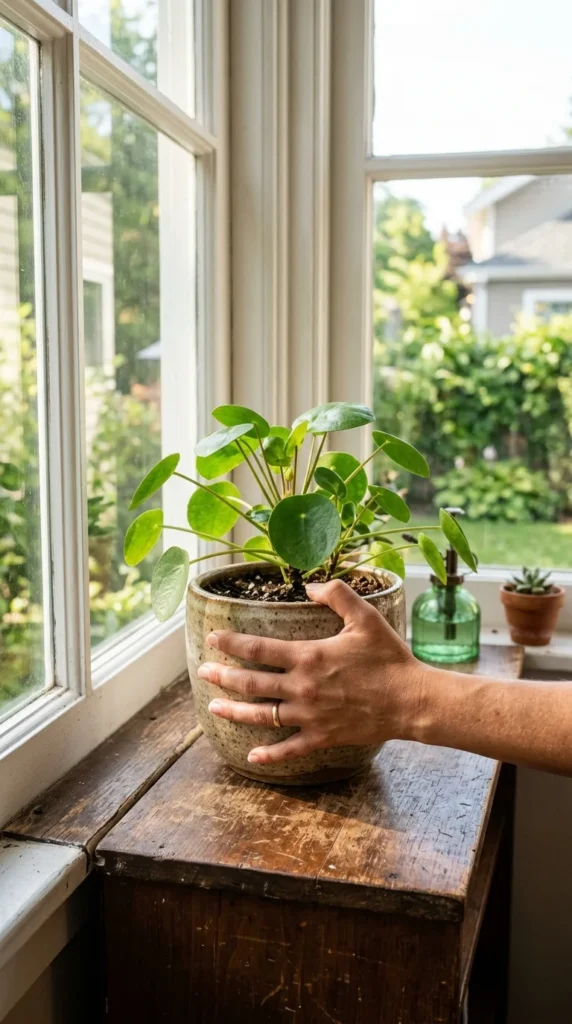
Plants exhibit phototropism, meaning they grow toward their light source. If left in one position for too long, a plant will become lopsided and “leggy” as it stretches toward the window. To maintain a balanced, symmetrical shape, give your pot a quarter-turn every time you water it. This ensures that all sides of the plant receive equal light exposure, promoting even growth and a sturdier stem structure.
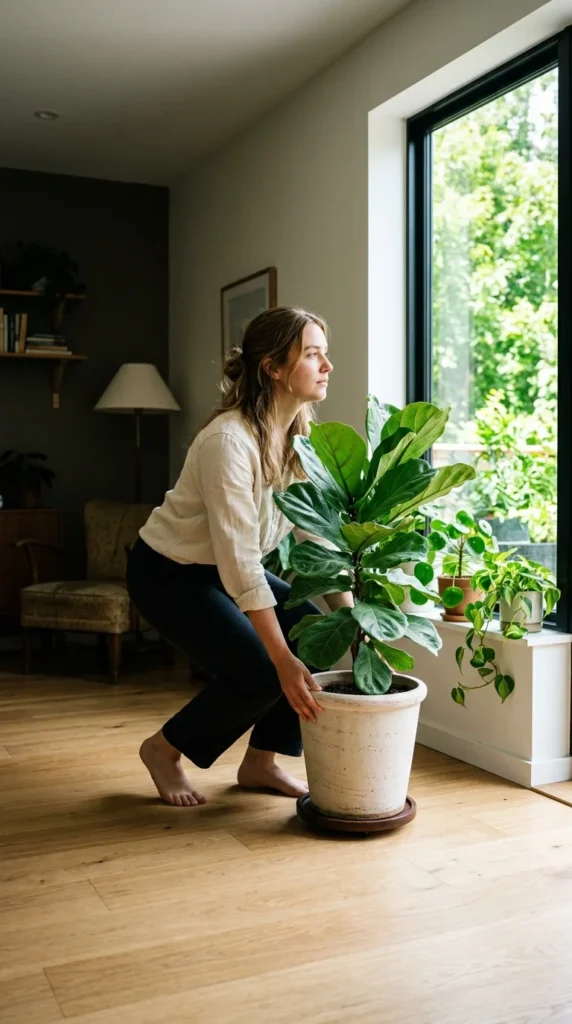
16. Pot Size Selection
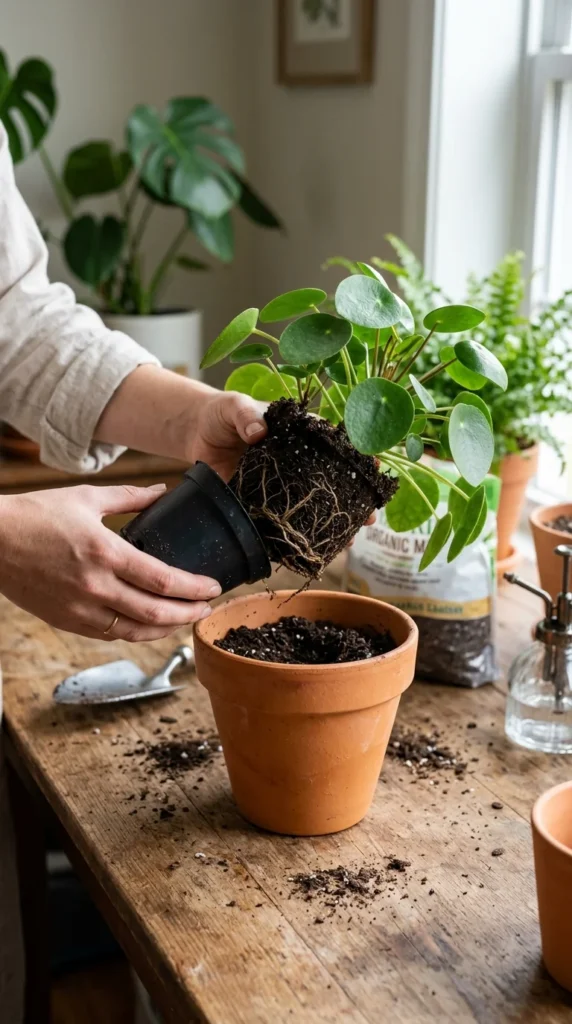
When it’s time to repot, many beginners choose a much larger container thinking the plant will “grow into it.” This is a mistake. A pot that is too large contains a massive amount of soil that the roots haven’t reached yet. This excess soil stays wet for too long, creating a “drowning” effect. The secret is to only move up one pot size—usually about 1 to 2 inches in diameter larger than the current pot. This provides enough room for growth without overwhelming the plant with excess moisture.
17. Root Health Inspection
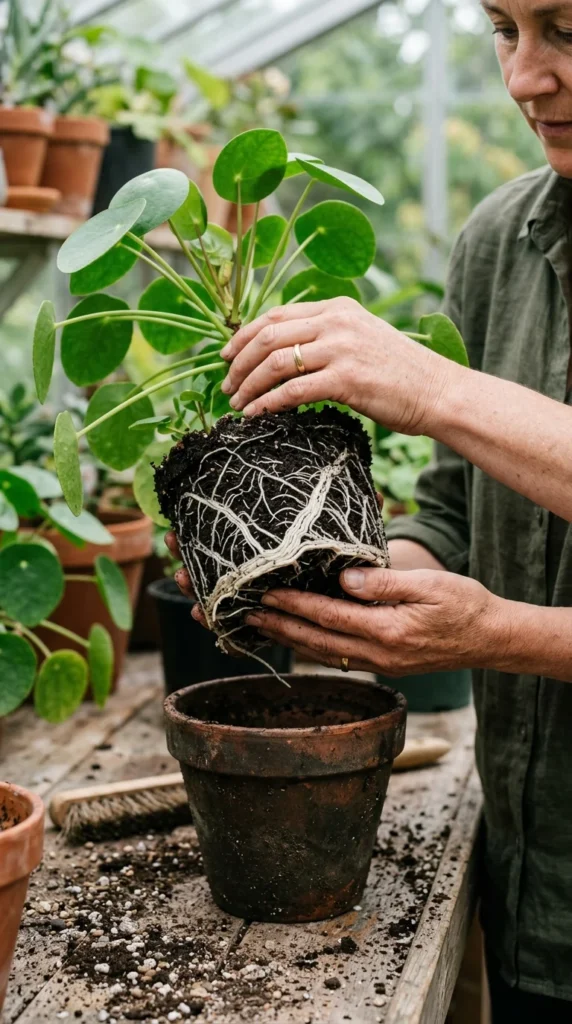
The health of a plant is a reflection of what is happening underground. If a plant looks sickly despite perfect light and water, it’s time to check the roots. Healthy roots should be firm and white or light tan. If they are mushy, black, and smell foul, you have root rot. Conversely, if you see more roots than soil, the plant is “root-bound” and needs a larger pot. Periodically sliding a plant out of its pot to inspect the root system can catch problems before they become terminal.
18. The Quarantine Period

The most important secret for a large collection is the “new plant quarantine.” Whenever you bring a new plant home, keep it in a separate room for at least two weeks. This allows any “hitchhiking” pests or dormant fungal issues to manifest without spreading to your entire collection. Once the plant has proven to be healthy and pest-free, it can be introduced to its new neighbors. This simple step can save you months of frustration and the potential loss of your most prized specimens.